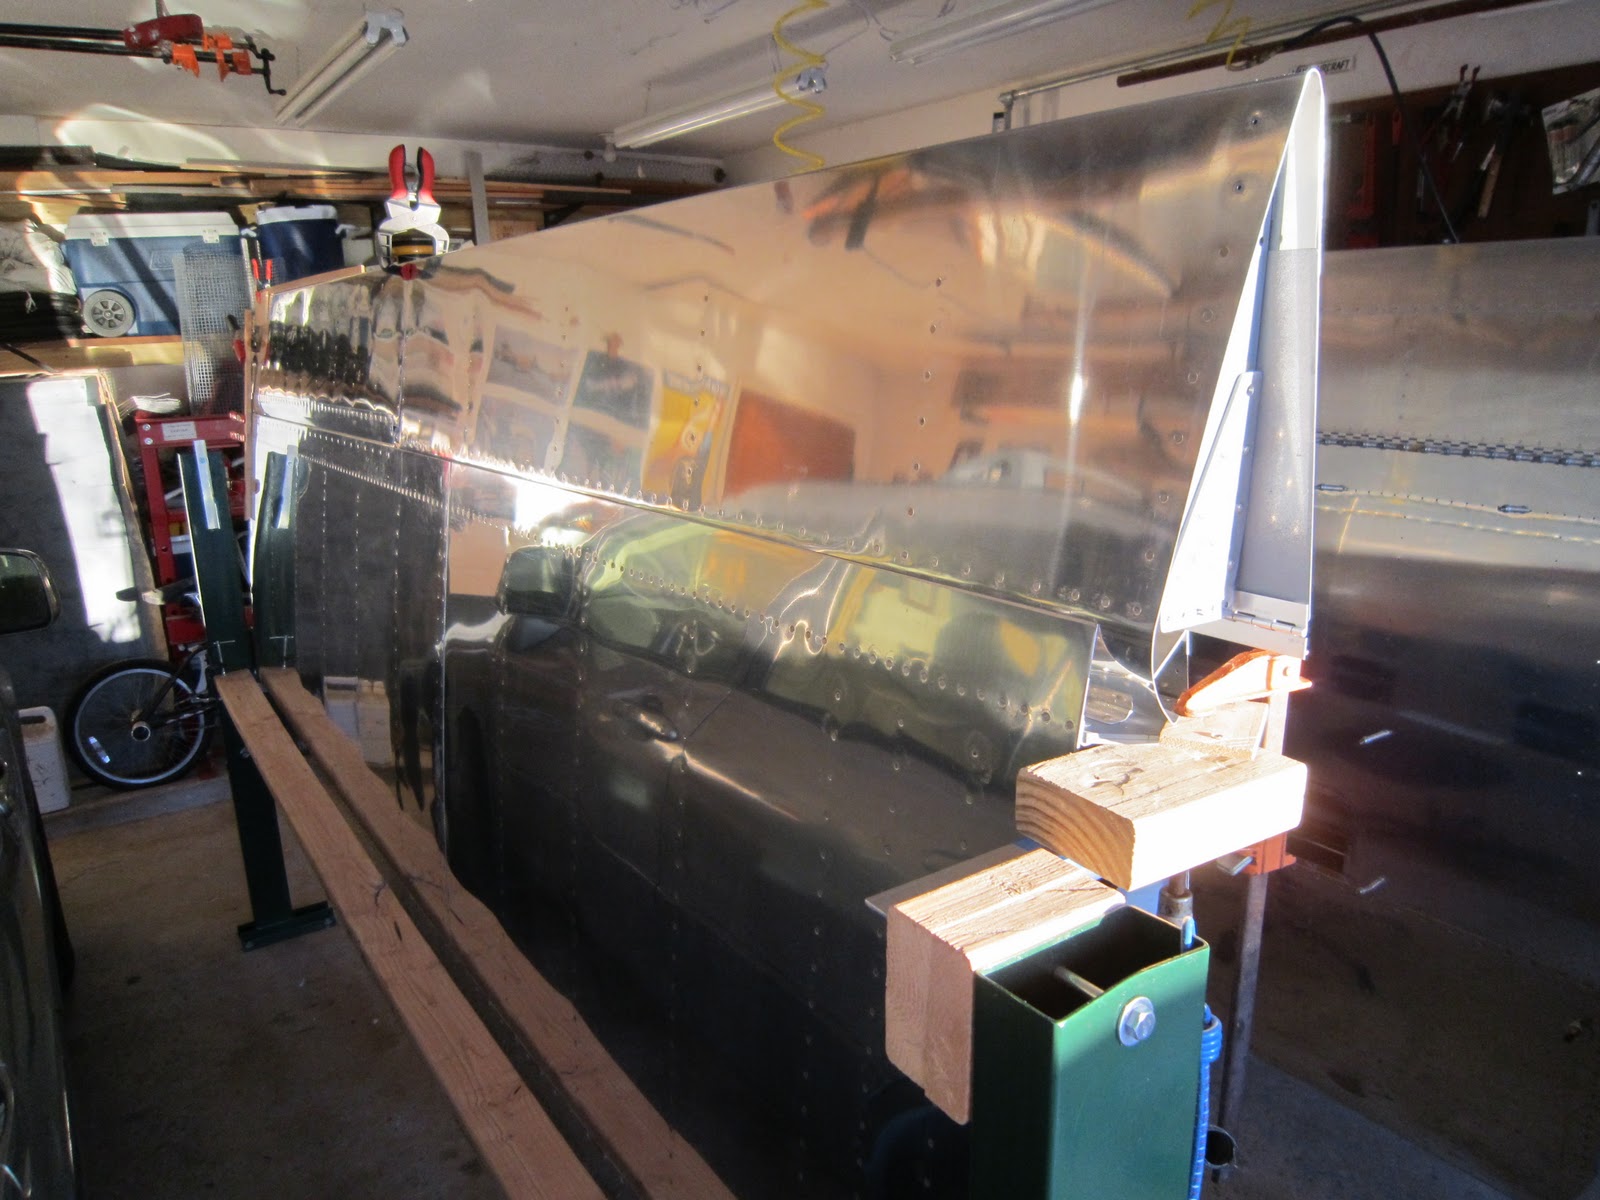
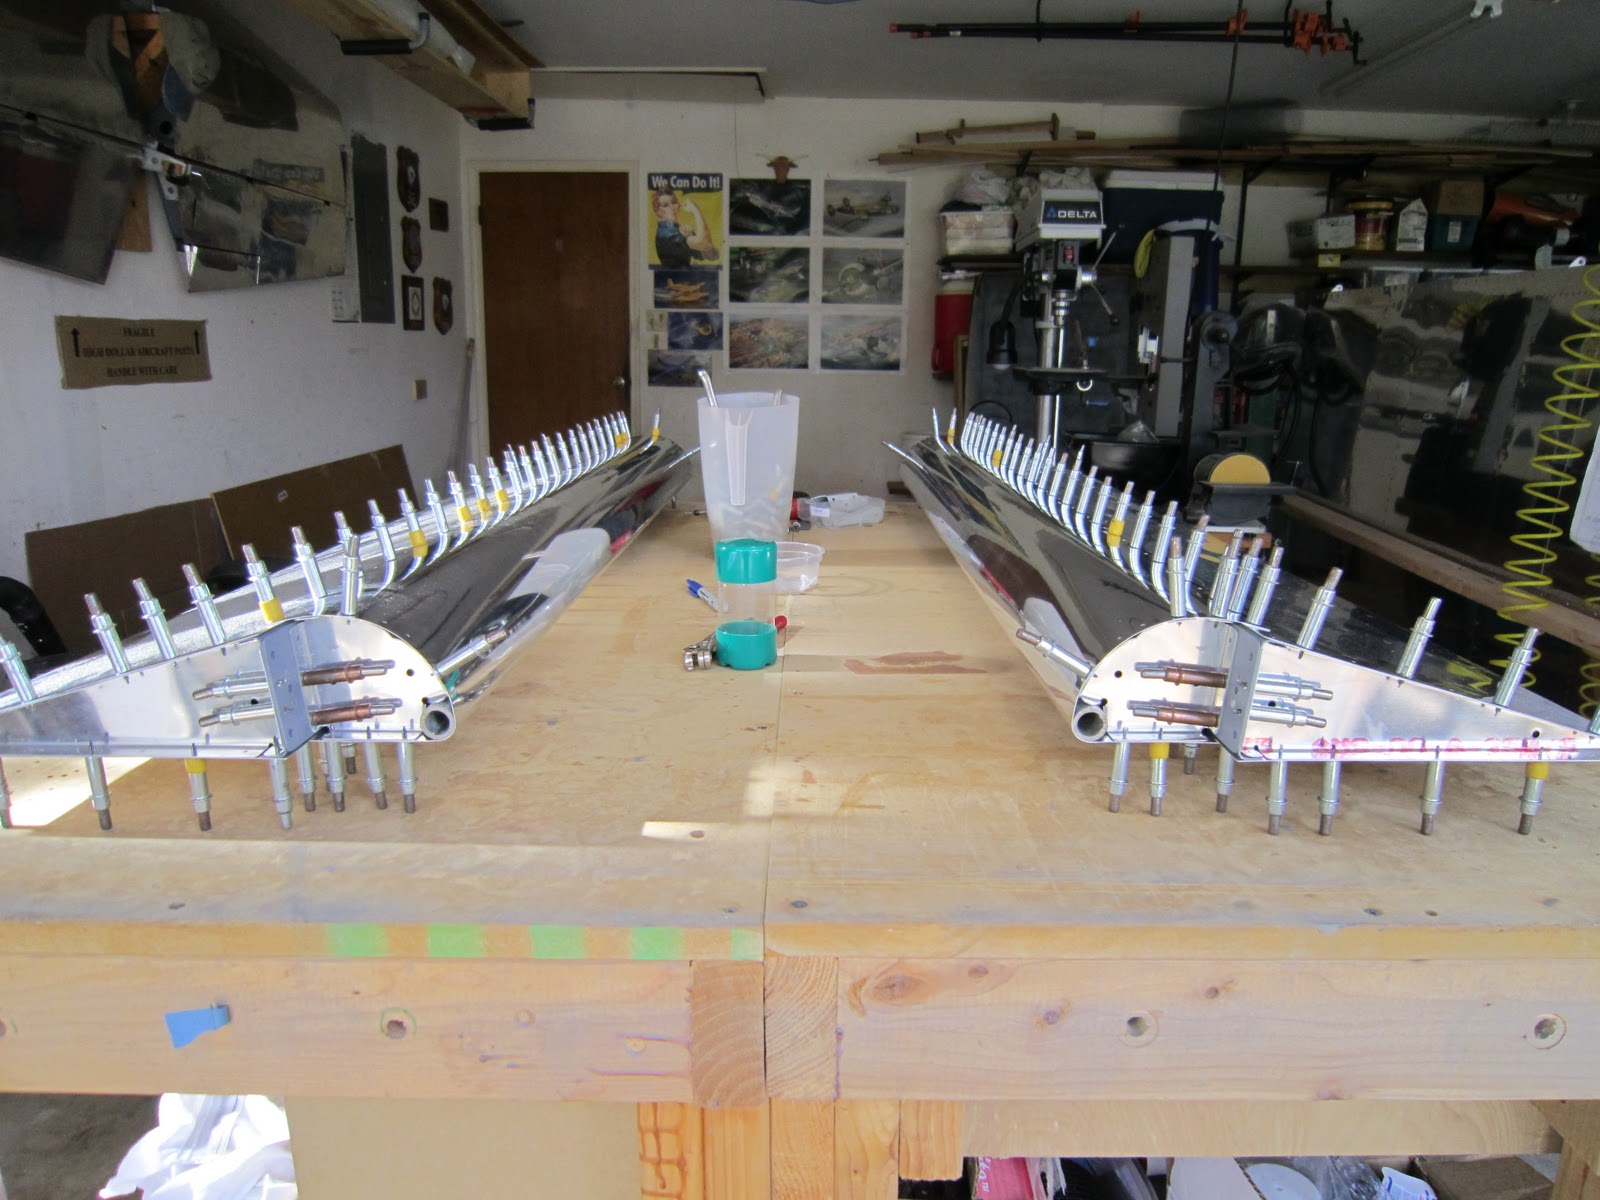
I haven't finished the big parts inventory below. It's 10 pages long! Austin and I got some of the big skins checked off and stored under his bed along with the landing gear and some of the weldments but I still have quite a ways to go. I plan on turning the crate into shelves to store all the medium sized parts in the same place. I'm anxious to finish inventory and get to some drilling, deburring, dimpling, priming and riveting.
Tuesday, June 14, 2011
Inventory Of Fuselage Continues
I had to buy two more small parts bins for all the additional rivets and nuts and bolts and cotter pins and washers and, and, and the list seems to go on forever. I finished all the inventory of the small stuff - 6 pages worth - and this picture shows me almost finished. Paula helped but she really didn't like all the super small detail work required. My recommendation to someone just getting started is to get all the same brand organizer as it makes moving things much easier. Lowes and Home Depot have Stack On brand which is made in the USA and only costs $5 or $6 more than the smaller Harbor Freight ones. The ones with 39 bins (9 of them larger) would be my choice. They're the ones pictured on the right. The large bins are good because many of the items won't fit in the smaller ones. Only a few items are missing but I would highly recommend going through every item. Not only to make sure everyting is there and you don't have to stop building to order a missing washer but also to learn what the parts look like and how they are named as it helps later in the build. I also recommend putting all the parts in bins instead of leaving them in the paper bags. It's faster and easier when you're building.
Labels:
06-Fuselage
Friday, June 10, 2011
M&M Paint Colors from New York
The girls (Paula, Shelby and Dean) went to New York for a "bucket list" trip. Paula and Shelby have been but Dean (Gma) had never seen the Big Apple. Here, they're in Central Park. Notice the jackets? It was 100 degrees back in Texas.
Here's what Paula brought me for a gift. It's the closest she could find in M&M's to the colors I plan on painting the RV. Nice of her to think of me and the airplane and chocolate at the same time.
Labels:
10-Paint
Saturday, May 28, 2011
Fuselage Scheduled for Delivery
The fuselage is scheduled for delivery on Wednesday at 5pm. I'll have to check with our good neighbor Tim to see if he's available to help when it gets here. The crate weighs 340 lbs! I picked up two small furniture dollys at Harbor Freight so maybe that will lessen the load a little.
The fuselage is the body of the aircraft from the engine firewall to the tail with the cockpit and seats in between. I'll add some pictures of the crate when it gets here.
Labels:
06-Fuselage
Finishing Fiberglass on Tail
I'm finishing up all the fiberglass on the tail. I haven't posted in a while partially because it's so messy working with fiberglass. I was nervous about getting resin on our camera and computer. Here, I've finished the bottom cap of the rudder.
Below is the last of the fiberglass tips on the empennage. It's the upper cap of the vertical stabilizer. I'm adding a resin shell to the part after adding and then sanding the lightweight filler smooth. I think of it as adding the candy shell to an M&M. The lightweight filler is too porous and won't paint well so that's why the outer layer is added.
Labels:
04-Empennage
Tuesday, May 3, 2011
Working On Fiberglass Tips
Here, I'm working on the fiberglass tips of the right horizontal stabilizer and elevator. I wanted to get the back side of the stabilizer tip to be concave to match the convex curve of the horn on the elevator tip. I used some of the green flower arranging foam from Hobby Lobby that I cut about 1/2" inch thick and then pushed the tip down onto it like I was cutting out cookies. The foam was only $1.77 and should be enough to do all the empennage. Plus, I didn't like the idea of buying a 4' x 8' sheet of insulation foam at Home Depot and throwing 95% of it in the trash.
I then used folded paper as a spacer taped to the elevator horn with sticky backed sandpaper on the leading edge.
I used the leading edge of the elevator horn as a sanding block to shape the green foam to the perfect concave shape with a consistent gap. Then I removed the tip and layed several layers of fiberglass over the green foam. The resin didn't stick to the foam and it was easy to chip out after it dried. I then filled the inside of the new fiberglass layups with several more reinforcing layers like shown in Vans' instructions. I can't imagine an easier or more accurate way to do this so I'll do the same with the left side and the rudder and vertical stabilizer.
Labels:
04-Empennage
Sunday, April 24, 2011
Supplemental Air Compressor
Here's a second air compressor I bought off craigslist. Love a bargain - $80! I plan on adding it to my air system to increase the cfm enough to use my new HVLP paint sprayer. I've tested it and it works great and the total air flow will be plenty. My new RV friend, Charles, helped me unload it. He worked with Norm and is just starting the RV journey. Yesterday, he came up and we talked tools and built the first part of the practice kit. He has an RV-9 tail kit that he's anxious to get started.
Austin and Spencer helped me by replacing the stock drain valve with the set-up below. The stock drain valve in every compressor I've seen is almost unusable. The manufacturer must be hoping they will rust out and have to be replaced sooner. All the parts are available in the aviation tool section (plumbing isle) of your local Home Depot. All 1/4" sized. From right to left is a street elbow, a 1.5" nipple and a ball valve. An optional 1.5" nipple on the other side of the ball valve makes it spray better when you're draining the tank on a daily basis. Hope that helps, Charles.
Labels:
03-Tools
Fiberglass Elevator Tips
Here, I'm getting some good work done on the fiberglass tips. This fiberglass stuff is messy but it's not too hard; certainly not as hard as metal building RV folks have made it out to be. Kind of like proseal and fuel tanks.
Labels:
04-Empennage
Sunday, April 10, 2011
Finished Third Trim Tab
No one can accuse me of not wanting to get it right. This is my third (and final) elevator trim tab. It took me a while to get it the way I wanted. Yes, maybe I'm a little retentive. Yes, my frind Norm who's a Technical Counsleor and a certified Airframe and Powerplant mechanic and a three time RV builder said the second one looked fine. I just didn't like it and I kept rebuilding them until I was satisfied! Nephew Spencer helped with this one and he has really good building instincts. He said it was the "Post" in him. I think there are carpenters in his Mom's family and he thinks he got it from them.
This picture shows the trim tab servo installation. I tested it with a 12 volt power source and it runs up and down just like it's supposed to.
Labels:
05-Wings
Wednesday, April 6, 2011
Fuselage Ordered
Whoo Hoo! Christmas came early and I ordered the fuselage. Thanks, Dad! I think he wants to see it finished and go flying with me. Delivery is estimated at eight weeks so I've got some time to finish the little bits and pieces left on the wings and empennage.
Here's the fuselage contents list from Van's:
- All skins accurately sheared and formed. All the RV-7/7A, RV-8/8A and RV-9/9A, fuselage skins are pre-punched.
- All fuselage bulkheads and ribs press-formed.
- Extruded angle for longerons and stiffeners. Formed aluminum angle for skin stiffeners.
- All the pre-cut and bent aluminum panels and channels used in the cockpit and baggage area.
- Ready-to-install rudder cables with stainless steel fittings.
- All steel parts such as longeron brackets, control sticks, rudder pedals, flap controls, tail wheel fork, are welded and in most cases, powder-coated as well.
- Main gear legs on the RV-6A, RV-7A, RV-8, RV-8A, and RV-9A.
- Brake master cylinders, lines, and fittings.
- All nuts, platenuts, washer, bolts, screws, rivets, pop-rivets, tube fittings needed.
Labels:
06-Fuselage
Tuesday, March 15, 2011
David Clark Headsets
Here is my latest airplane related acquisition. I didn't have a headset so I got these on ebay along with an intercom and PTT (press to talk) switch plus two pouches. One is a DC H10-60 and the other is a DC H10-30. Both in really good condition but I haven't tested them yet.
Labels:
99-Other
Finished Wings
Whoohoo! The wings are finished. Minus the fiberglass tips, of course. Vans recommends waiting to do all the fiberglass at the same time towards the end as it's messy. I'm going to start on it while I wait for the fuselage plus I want to paint the empennage and wings. This picture isn't the greatest as both of the wings are in the cradle Norm gave me.
Labels:
05-Wings
Monday, February 28, 2011
More U.S. Homebuilts Than Factory Pistons In 2010
In 2010, there were more homebuilt aircraft registered in the United States than there were factory piston aircraft delivered worldwide! The latest General Aviation Manufacturers Association (GAMA) Statistical Databook covering the 2010 calendar year shows worldwide general aviation aircraft shipments included 2,015 total aircraft, including 889 piston-powered aircraft, 763 business jets, and 363 turboprops. Homebuilt aircraft registrations continued their growth in the U.S. last year. A total of 941 homebuilt aircraft were added to the FAA registry in 2010, an increase of 10 percent from the previous year. There are now more than 32,000 homebuilt aircraft registered in the U.S.
Labels:
99-Other
Tuesday, February 22, 2011
Finished The Left Wing
Yesterday, I finished the left wing except for the fiberglass tip. I was able to do the outboard skin solo without too much trouble. I showed Paula and she said it's fat. Should I be insulted for my wing? I hope she just means it's big boned. It was a perfect building day; 82 degrees in February is not too shabby. Nice being able to build in a T-shirt, shorts and Crocs although the Crocs probably make me look fat.
Labels:
05-Wings
Wednesday, February 16, 2011
Riveting The Outboard Wing Skin
Here's a video of me riveting the left outboard bottom wing skin. Helps having long arms!
Labels:
05-Wings
Finished Another Bottom Wing Skin - Solo
Here, I've finished the right inboard bottom skin. I did it solo and used my handy-dandy riveting aid I wrote about below. I've only got the 2 outboard skins to go so I'm debating whether I should take the time to improve my solo rivet tool to include the rib rivets. I have a simple design that I'm sure will work but I don't know if it's worth an hour or two of my build time.
Labels:
05-Wings
Sunday, February 13, 2011
Solo Rivet Helper
My friend Dan was coming to help rivet the bottom inboard wing skin yesterday while his mom and wife had lunch with Paula and her mom but had to cancel. A trip to the emergency room will change your plans in a hurry. Everyone is fine now. They were also going to the Rodeo in San Antonio and missed that, too. Rough day!
The weather was beautiful so I pressed on solo but had to devise a way to get to some of the more difficult rivets. Below is a picture of what I came up with. Actually works great and the rivets come out very consistent. It's only good for the rivets along the rear spar but some of those are the most difficult, especially the ones where the ribs are close together under the wing walk doubler. It's a very simple tool and took me less than 15 minutes to make. I used a 1.5 x 1.5 board with a hanger bolt in the end that I had used on a tiling project. The notched and angled bucking bar holder is attached to the end of the board with a wing nut and there is a pin (finish nail) that keeps it from rotating if the wing nut loosens. It's actually much smaller than it looks in the picture. It easily fits through lightning holes to remove and reattach in each bay.
Here's the setup sticking out the upper or aft lightning hole. A simple twist of the board keeps back pressure on the bucking bar.
Tuesday, February 8, 2011
Birthday Present from Shelby
Here's a picture of the birthday present I received from Shelby. Cool tie clasp with a propeller and it really spins. That was so thoughtful of Shelby! Behind it is an access panel I finished yesterday.
Labels:
99-Other
Friday, February 4, 2011
Finished First Bottom Skin
Here, I've finished riveting the left inboard bottom skin. There are four bottom skins. Feels good starting to wrap things up on the wing. It might be possible to do it solo but it was much easier having Austin help, especially around the wing walk doublers. The ribs at the wing walk doublers are very close together so it makes access difficult. They're called wing walk doublers because that's where you walk on the wing when you climb into the cockpit and both the ribs and skin are doubled. I also reinstalled the flap but will have to take it off again to finish riveting the flap hinge.
Labels:
05-Wings
Wednesday, January 26, 2011
Finished And Mounted The Right Flap
I've finished the right flap and mounted it to the wing. I brought Paula out to the garage to show her and she said the garage is looking full. The wings look really large with the ailerons and flaps mounted. I can't wait to see how big they will be with the wingtips installed. They will soon be coming down off the stands and onto the wing dolly that Norm gave me. There's not too much left to do to call the wings complete. A few odds and ends and then finish the bottom skins and access panels. I hope to get a bunch of that done this Saturday, which is the day we're celebrating my birthday. Hopefully, Shelby and Austin will be home to treat me to some garage time.
Labels:
05-Wings
Monday, January 24, 2011
Finishing Right Flap
Here's a video of me finishing the right flap. Paula surprised me with an impromptu interview.
And here's a photo for the FAA inspector to show it really was me that built it!
Labels:
05-Wings
Wednesday, January 19, 2011
Finished The Left Flap
Here, I've finished the left flap and temporarily attached it to the wing. I'm really happy with how well it turned out. The more I build, the better I build. Funny how that works - kind of like life.
Here's the trailing edge of the aileron and the flap. They should be 1/4 inch apart and matched for length. Looks spot-on to me. I hope I'm not being too retentive as I measured the small movement in the hinge and split the difference when lining them up. It didn't take too long and I like things being accurate.
This is meant to show how straight and flat the ailerons and flaps are and how they line up perfectly parallel. Not the greatest picture but I worked really hard to ensure there was no twist to any of the control surfaces. Although the parts are CNC computer punched and don't need jigs, it is possible to build them with a slight twist. When I was assembling the ailerons, I noticed that I could cleco them together without a weight holding them flat and have a small twist. All I had to do was remove the clecos and weigh them down and reinstall the clecos and they would be flat.
Labels:
05-Wings
Saturday, January 15, 2011
Best Tungsten Bucking Bar
This has to be the best bucking bar ever! It's from Avery Tools, their number 6001 bucking bar. I used it to finish the left flap and it was a piece of cake with this. I've got it taped up to prevent scrapes and scratches.
Labels:
03-Tools
Tuesday, December 21, 2010
Aerodynamic Drag
Here's an interesting video from a lecture given in the 50's by an MIT professor about aerodynamic drag and why it's important to have an airfoil shape when you're going fast. The RV series of aircraft are about 50 knots faster than the equivalent production aircraft with approximately the same size motor and weight due to careful drag reduction. Don't you just love youtube?
Monday, December 20, 2010
Pitot Line And Pushrods Installed
Got the pitot line installed which will connect to the pitot tube. It measures how much pressure is being pushed in the front of the tube and compares it to the static pressure in free air on the side of the aircraft. The calibrated difference outputs to the airspeed indicator while the static pressure outputs to the altimeter and vertical speed indicator. If you didn't recognize it immediately, it's the curved tube with the big blue nut at the bottom of the picture below.
You can also see the bellcrank with the two pushrods attached. An elegantly simple system. The larger pushrod connects to the bottom of the stick in the cockpit. The smaller one which is going up in this picture (aft when the wing is level and not held in a jig) attaches to the aileron.
Here's a youtube video with a lesson on pitot static systems.
Labels:
05-Wings
Thursday, December 16, 2010
Left Aileron Mounted
Here, Austin and I have mounted the left aileron. Yup, lots of fingerprints. It had to come on and off multiple times to get the spacers and washers just right. It was a near perfect fit. We only had to add one "L" or thin washer beyond what the plans show which was not bad as the instructions said to add washers or make spacers as required.
Labels:
05-Wings
Tuesday, December 14, 2010
Started On Aileron Installation
I decided to install the ailerons first and then check the flap hinges for spacing before drilling them. I didn't want to order a new hinge if the spacing wasn't correct plus all the trouble of drilling out rivets, etc. Below, I've finished one of the aileron to stick pushrods. These will connect to the bottom of the stick in the cockpit and then through the wings to the bellcranks in each wing which will then connect to pushrods which will control the ailerons. Kind of like Dem Bones: the kneebone's connected to the thigh bone.... Be sure and click on the link and wait for the music and scroll down a little to watch the skeleton dance. Funny!
I added padded magnetic jaw pads to my vise. I had to ream out a brass bushing for the bellcrank and it was much easier with these plus little chance of crushing the soft tubing. I used them on the pushrods above as well. After having used the bench vise for just a couple of days, I now consider it a tool necessity!
Tuesday, December 7, 2010
New Vise Plus Work On Flaps
Here's a picture of my new bench vise with the flaps in the background. I've been trying to find a good vise at a reasonable price on craigslist or ebay for about 6 months with no luck. The flaps require a bend on two pieces of thick aluminum and a vise like this one will make it much easier. This was the only one left at Home Depot that was Wilton brand and it was only $21! It was made in China but under specs for Wilton so I'm hoping the quality is a little better that the usual China junk. The old bullet style Wiltons on ebay go for hundreds. I made this one detachable by epoxying nuts into the bench. The white stuff below the vise on the edge of the bench is the epoxy with the nuts inside.
I'm making slow but steady progress on the flaps. Part of what's holding me up is understanding how to attach the flap hinge. The written plans say to attach one half of the hinge to the flaps now but the plans have a note to move both sides of the hinge forward or aft to align the flaps with the ailerons. Sort of a Catch 22 thing. The RV forum wasn't real clear, either. Hmmm?
Monday, November 22, 2010
Finished Both Ailerons
Here, I've finished both ailerons. What does that have to do with a penguin hat, you might ask? My daughter, Shelby, thought I should wear funny hats in in my pictures. This is my son's hat that he wears to Wurstfest. You can see the next hat in the background!
Wednesday, November 17, 2010
Finished Right Aileron
Here, I've finished the right aileron. You might ask yourself, "self, why is he wearing a cheesehead?". It's not some subtle homage to the home of the EAA and Airventure in Wisconsin (which produces 25% of all the cheese made in the United States). It's simply that Shelby said it would look funny if I wore a cheesehead in one of my pictures. Oh, and the aileron turned out great. I'm really looking forward to checking out the flying characteristics of the superbly folded trailing edge.
Tuesday, November 16, 2010
Red Green - How To Build Your Own Airplane
I wasn't sure how to build this air-o-plane thing so I got this book.
Labels:
99-Other
Monday, November 15, 2010
Riveting Ailerons
Here, I'm final riveting the right aileron. I'm using the old fuel tank/leading edge cradle to help hold open the bottom of the aileron so I can get to the top rivets.
Labels:
05-Wings
Friday, November 12, 2010
Ailerons Ready To Final Drill
I took Veteran's Day off as I am a veteran and got a lot of work done on the ailerons. I had planned on working half a day on the plane and the rest in the yard but it was a little rainy so I couldn't do the yard. No problem, I'll just keep working on the ailerons!
They're both ready for final drilling and then the usual deburring, dimpling, priming and then reassembly for final riveting. The only thing new in this go-around is the counterbalance. It's a galvanized water pipe that needs to be drilled and countersunk. You can see it in the picture above on the far left. OK, I know you're thinking to yourself, "self, what's with this cheesy water pipe thing". It just happens to be the perfect weight for a counterbalance since the controls are all balanced (which is a really top quality thing) and it's simple and weather proof. And, it's smoothly cut to within 1/64th of the nose skin. Now that's quality control especially since it's just a water pipe. If you really want to read more about aileron balance weights, the link takes you to a wikipedia article about them. Right below balance weights is a section on Frise ailerons, which is what you're looking at in these pictures.
Labels:
05-Wings
Thursday, November 11, 2010
Folding Aileron Trailing Edge
The folding of the aileron trailing edges came out really well. Below, I'm checking that the skin is straight all the way back to where the radius starts. It is.
Labels:
05-Wings
Monday, November 8, 2010
Back Rivet Plate
Here's my inset back rivet plate. It's 3/4 inch thick plate steel and 9"x15". It's flush with the top of my workbench surface and I leave it in place all the time. I beefed up the frame and added screws to level it. I got it smooth by starting with a belt sander with 80 grit and working my way up to about 320 grit on a palm sander. I protect it with Boeshield. I've had it in my workbench since I began building but I never had a picture of it to show others.
Labels:
03-Tools
Finished Aileron Stiffeners
This is another example of where my best work will never be seen. The aileron stiffeners will be totally enclosed when the ailerons are finished. No one but me will know that every stiffener was carefully match drilled with every hole and edge deburred to remove any stress risers. All 32 of the stiffeners were marked for location and all the mating surfaces were cleaned and primed. You can see the beautifully flush rivets on the outside but you can't see all the carefully measured shop heads of the rivets on the inside. Oh well...at least I know.
Paula helped put the rivets in the holes and covered them with rivet tape and then taped the stiffeners in place...all the while watching football with me. Cowboys got whipped 45-7 by Green Bay. She said she should be nominated for the best wife ever. You are hereby nominated but you have to read this to find out.
Labels:
05-Wings
Saturday, November 6, 2010
Started Work On Ailerons
Here are the stiffeners for the inside of the ailerons. 32 in all, 16 for each aileron with 8 each on the top and bottom skins. The repetitive tasks are sometimes the hardest as you do the same thing over and over and over...
Plans page for the ailerons. Getting much easier as I get more practice reading them.
Labels:
05-Wings
Friday, November 5, 2010
Finished Aileron Gap Seals and Flap Braces
Below, I've finished the aileron gap seals and flap braces and now it's time to move on to the ailerons and flaps themselves.
The bottom skins will go on after everything has gone into the wing body like the pitot tube, the wiring and the flight control parts. Nice to finish a minor milestone.
Labels:
05-Wings
Wednesday, October 27, 2010
Aileron Hinge Brackets
Started work on the aileron hinge brackets. Here's the outboard one on the left wing. The ailerons attach to the aft of the wing and pivot on these brackets.
Labels:
05-Wings
Tuesday, October 26, 2010
Finished Top Wing Skins
All the top wing skins are finished. Austin came home on Saturday and we finished the last top wing skin lickety-split. Sure helps having someone to help and especially someone good with building! Austin and I removed the right wing and flipped the brackets on the stand and reinstalled it leading edge down so we can work on the flaps and ailerons easier plus have better access to the inside of the wing. Nephew Spencer came by on Sunday and we flipped the left wing. I also installed a 2x4 bumper guard outside the right wing that's next to Paula's car. That's all I'll say about that.
Labels:
05-Wings
Tuesday, October 5, 2010
Working on Left Wing Skins
I'm starting to rivet the left outboard top wing skin. I've found that my arms are long enough that I can get to almost all of the rivets from below by lying on a low platform and reaching around to both sides at the same time. I may need help on the top row but at least I'll get most of them.
Labels:
05-Wings
Saturday, October 2, 2010
Finished Left Inboard Top Wing Skin
Here, Spencer and I are riveting the left inboard top wing skin. Spencer did a good job riveting and the wing skin looks great. We had a good rhythm going where he'd put the rivet in the hole and cover it with the rivet set and call "ON" and I'd get the bucking bar on the tail of the rivet and call "GO". We make a good team. Don't know about the camera person commentary, though. Edit: OK, the camera person can make silly commentary. She's got a garage pass as she (Paula) came out and helped me finish the last of the hard to reach rivets on Sunday night after Desperate Housewives. Much appreciated.
Labels:
05-Wings
Subscribe to:
Posts (Atom)