

Thursday, January 29, 2015
Empennage Fairing
I'm working on the empennage fairing. Next time, I won't go to the trouble of making a one piece fairing. Too much work for not much in return. It fits well so I just need to prime and sand before painting.
Tuesday, January 27, 2015
Brakes And Brake Lines
Austin was home for my birthday party and helped me repack the main wheel bearings and drill the axle shaft holes for the big cotter keys. I also fabricated and installed the brake lines between the fuselage and calipers. The green cushion (made from a pool noodle) is to keep me from bending the wheel pant bracket by catching my foot on it.

Friday, January 23, 2015
Fifth Point Harness Installed
I installed the fifth point harness (also known as the crotch strap) last night. The hard part was taking out the trim and floorboards.

Here's the anchor connection. The Crow tab or tang is too long so you drill a hole above the existing one and everything fits fine.

Here's the anchor connection. The Crow tab or tang is too long so you drill a hole above the existing one and everything fits fine.
Thursday, January 22, 2015
Seat Belts and Interior Trim
I'm getting the interior fit and finished. Here are the Crow seat belts installed on the passenger side. I still need to fit the 5th point belt (crotch strap) but I tried them out last night while I was updating software and they're very comfortable.

Here are some of the baggage compartment panels and you can see where the shoulder harness anchors come through.

Here you can see the front cockpit and some of the side panels and carpet. Very comfy.

Here are some of the baggage compartment panels and you can see where the shoulder harness anchors come through.
Here you can see the front cockpit and some of the side panels and carpet. Very comfy.
Sunday, January 18, 2015
First Labels
Here are my first labels on the fuel selector plate. I'm happy with the way they turned out so now it's on to the panel in the airplane.

Friday, January 16, 2015
Laminator
Here's the heavy duty laminator I got for Christmas from my Dad. It's an Apache AL18P as specified by the Decal Pro folks. The Decal Pro instructions have you make a few adjustments to the laminator which I've done so now it's on to practicing making labels.

Monday, January 12, 2015
Started Panel Labels
I taped paper copies of the panel and switch labels to the panel to check for fit. Once I get everything the way I want it, I'll create them in the dry transfer kit I got for Christmas from my Dad.


Here's my proof sheet for labels. I might change a few items but this is close. The round ones will go on the face of the knobs. Everything below was created with Google Docs free online drawing program. The only graphic I imported was the USB symbol. Here's a link to the file: Panel Labels 2
Sunday, January 11, 2015
Cowl Heat Barrier
Installed the cowl heat barrier. The exhaust is close to several spots on the lower cowl and this reflective material keeps it a little cooler.

Finished Filtered Air Box
I finished the filtered air box (FAB) and all the connections. This shows the cable connections for carb heat.

Here's a bottom view showing the alternate air door. This should be the last major firewall forward or engine related work. I'll still need to go over everything to make sure it's secured and torqued and safety wired as needed.

Here's a bottom view showing the alternate air door. This should be the last major firewall forward or engine related work. I'll still need to go over everything to make sure it's secured and torqued and safety wired as needed.
Tuesday, January 6, 2015
Alternate Air Door
This is the alternate air door. It's the almost round thing on the bottom of the air box with two screws. If anything clogs the normal intake or filter, you pull the knob in the cockpit that opens the door to let air in through the bottom bypassing the filter. I've finished almost all the construction of the air box and intake. I just need to do the final installation connecting cables and making it pretty by sanding and painting the front and inside of the snorkel.

Friday, January 2, 2015
Carburetor Heat
This is the intake for carburetor heat on the air box. The lever that sticks up in the upper right of the photo will connect to a cable in the cockpit for activating it. Only riveting left to finish it.

Sunday, December 28, 2014
Snorkel Epoxied
I attached a fine grained styrofoam plug between the back of the snorkel inlet and the filtered air box and used a round file to cut a smooth channel between the two. Then I fiberglassed the inside of the channel and inflated a balloon inside to keep its shape. After it dries, I'll reinforce the inside of the snorkel and trim it to fit.

Saturday, December 27, 2014
Modified FAB
I decided to modify the filtered air box a little. To get the inlet of the FAB to match the cowl snorkel, I raised the front of the FAB about 1/2 inch. I cut a wedge from each side and then taped it where I wanted it to be. I heated and cooled it several times with the heat gun and then clamped it in place to prep for a fiberglass patch.

Monday, December 22, 2014
FAB
The FAB is the filtered air box. It holds the air filter, carburetor heat and alternate air door and looks like an upside down air cleaner on a car. I'm about half way through constructing it. After it's through, I'll install it on the carburetor and then fabricate a fiberglass extension from the FAB to the back of the lower cowl snorkel.

Monday, December 15, 2014
Intake Air Seal
Here are the intake air seals almost finished. I only need to trim the air seal fabric to fit.

Friday, December 12, 2014
Exhaust Hung
I'm finishing hanging the exhaust. Just the cross strap to attach which is already fitted and built. This is another task that would be easy the second time because understanding what needs doing is the difficult part. The hand drawn instructions were vague at best. I also had to move some electrical to fit the right hanger strap. Below is the easy left side with not much in the way. It's the black hose with two clamps and stainless tubes sticking out both ends.

The top of the hangers attach to sump tank bolts with a tab.

This is the right side showing how crowded it is.

The top of the hangers attach to sump tank bolts with a tab.
This is the right side showing how crowded it is.
Monday, December 8, 2014
Remaining Inventory
After searching for the little aluminum tube for the fuel pump overflow line, I decided to do an inventory of what's left to build. I'm making ZERO promises on when I'll be done but the pile was surprisingly small. The box in the picture has three cardboard boxes inside. Two boxes have parts that are completed and just need to be reinstalled. The small box in the upper right contains things left to build. There are some other things that aren't in the box that I'll need to complete before flying like brake lines and a few more. The empennage fairing and wingtips are fitted but need finishing. There's some interior trim and the seatbelts that need fitting. I also have to label the panel but the list is getting small. I'm not sure if I'll fit and install the wheel pants and gear leg fairings before flying as they're not recommended during engine break-in.

Fuel Pump Overflow Line
I installed the fuel pump overflow line this weekend. The hardest part was finding the little aluminum tube. Here's where it exits out the bottom of the fuselage.

This is where any overflow would exit the fuel pump.

This is where any overflow would exit the fuel pump.
Tuesday, December 2, 2014
Homemade Tow Bar
Here's my homemade tow bar. I used it to move the airplane over to let Paula park in the garage. It's not pretty and made from an old crutch with bushings welded to scrap metal but works just fine.

Finished Engine Wiring
I wrapped up the engine wiring last night. I do have some very minor things left like sealing the firewall penetrations but I'd put the wiring part at 99% done. It was a more difficult job than I expected. Next time will be ten times faster as now I know the how and where part of the job. On the right side I used the black "snakeskin" wrap for chafe protection of wires.

On the left side I used white spiral wrap. I've seen both used on many aircraft and I'll see which one I like better after some use. I also spent a couple of hours inside under the panel finishing the connections from the engine and securing wires.

On the left side I used white spiral wrap. I've seen both used on many aircraft and I'll see which one I like better after some use. I also spent a couple of hours inside under the panel finishing the connections from the engine and securing wires.
Monday, December 1, 2014
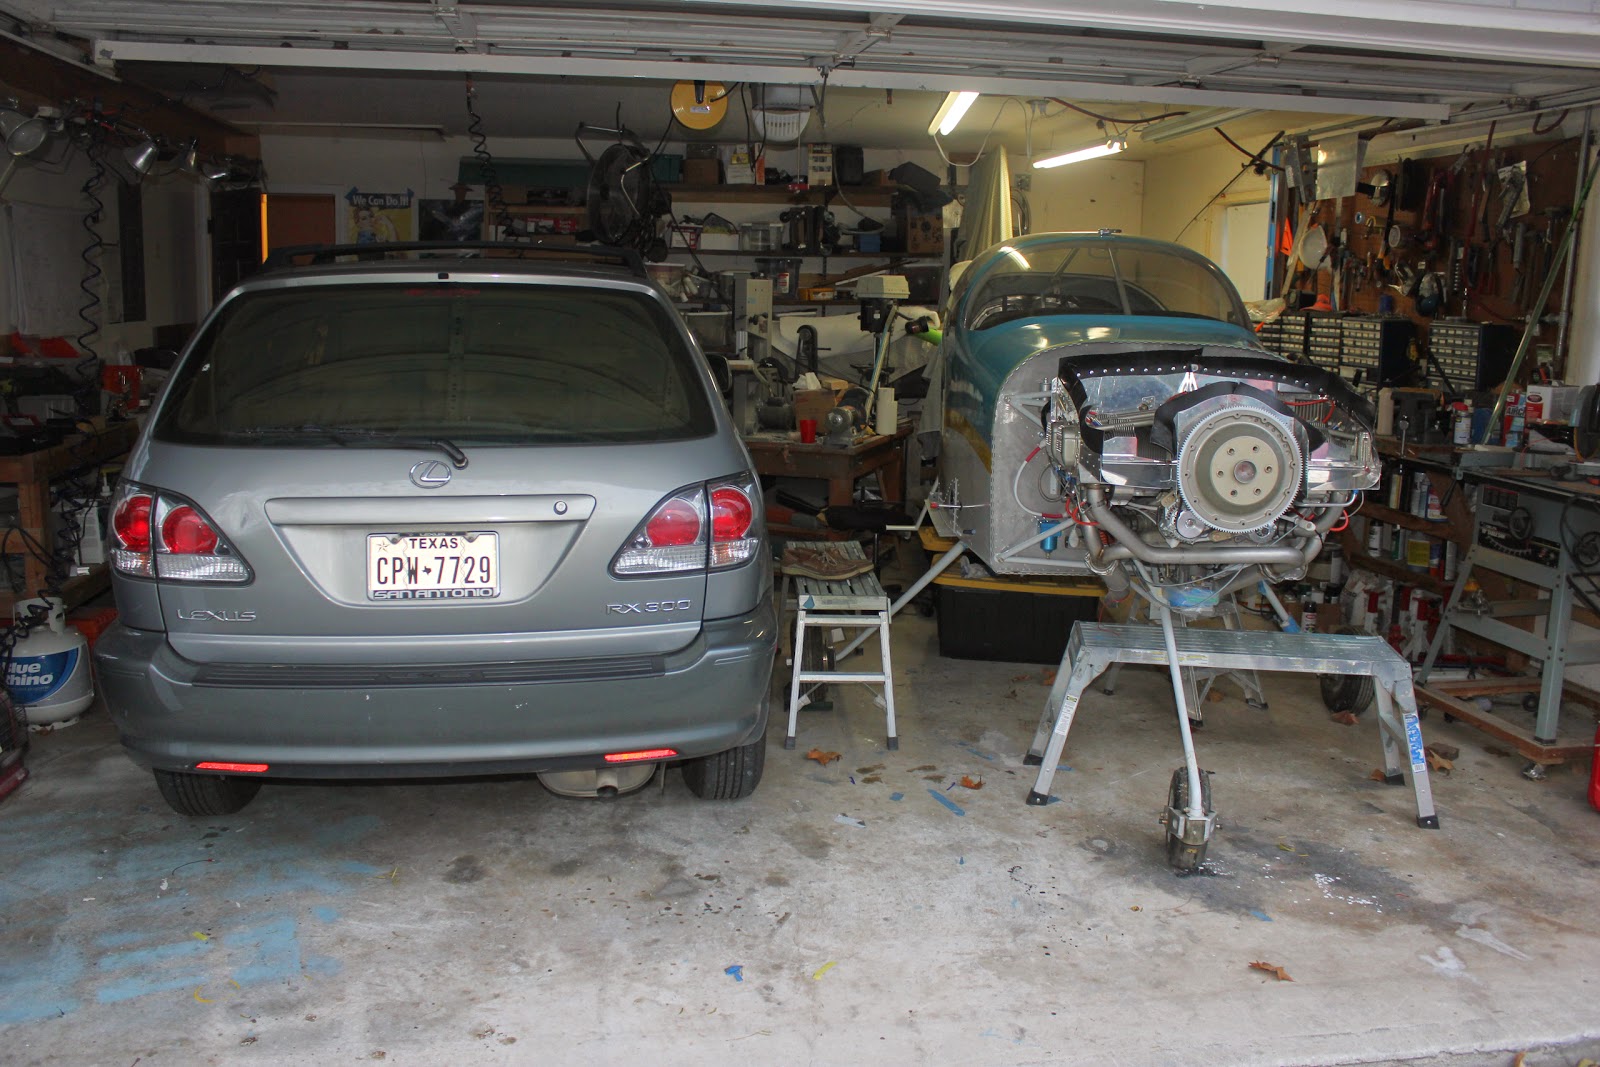
Wings Moved To Hanger
Austin came home and helped me move the wings to the hanger in San Marcos. They look kind of lonely in the corner. Jack was nice enough to let me squeeze in with "Tweety Bird".

Paula's happy to have her car in the garage now that there's extra room.
Paula's happy to have her car in the garage now that there's extra room.
Thursday, November 20, 2014
Oil Temperature Sensor
I had to call Aero Sport Power (the engine builders) to get advice about the Oil Temp Sensor as it didn't want to screw into the oil filter adaptor. Their advice was to remove the adaptor and chase the threads with a tap. Here's the picture of me doing it. That was the problem and all fixed and re-installed after a through cleaning.

Monday, November 17, 2014
Manifold Pressure Sensor
I got the manifold pressure sensor installed this weekend along with a bunch of other firewall forward wiring. Here's the adaptor I used between the 1/8 line that comes through the firewall and the 1/4 line that goes into the sensor. It's from an oxygen line that my Dad used and fits perfectly on the sensor fitting. The connector between the two lines is from the aviation isle of an auto parts store in the vacuum line section.

Monday, November 10, 2014
Engine Sensor Wiring
I'm almost done installing the engine sensors. Routing and attaching the sensor wires to the engine monitor harnesses will come next.

Oil Filler
Here's the oil filler installed. It has a threaded base that makes it very secure. I've read that others don't have the threaded base and are difficult to keep from wobbling and leaking. Here it is all secured with safety wire.

Pitot Replaced
Back from vacation in Italy and time to get some work done on the airplane. Dynon had a problem with their heated pitots and replaced all of them at no cost. Good company and glad I chose them for my avionics. I installed the new one on Saturday. A part of the requirement to get the free replacement was to destroy the old one and send a photo to Dynon. Here's the old one with the top cut off.


New one installed in less than 3 hours. The first time, it took about 3 days!
Tuesday, October 21, 2014
CHT And Sensor Wiring
I'm waiting for an order of Pliobond glue to finish the last tiny part of the baffles so I've moved on to wiring the engine compartment. This picture shows the plug wires and the probes for the Cylinder Head Temperature (CHT).

Here are two of the pressure sensors for measuring oil and fuel pressure. New engine monitor systems check and measure just about everything under the hood. You can see the big bundle of wires that will go all over the engine compartment. It looks confusing at first but every wire is easy to identify and easy to find where it goes. The hardest part is finding the best path for the wires and making them secure.

Here are two of the pressure sensors for measuring oil and fuel pressure. New engine monitor systems check and measure just about everything under the hood. You can see the big bundle of wires that will go all over the engine compartment. It looks confusing at first but every wire is easy to identify and easy to find where it goes. The hardest part is finding the best path for the wires and making them secure.
Monday, October 20, 2014
Ignition Harness
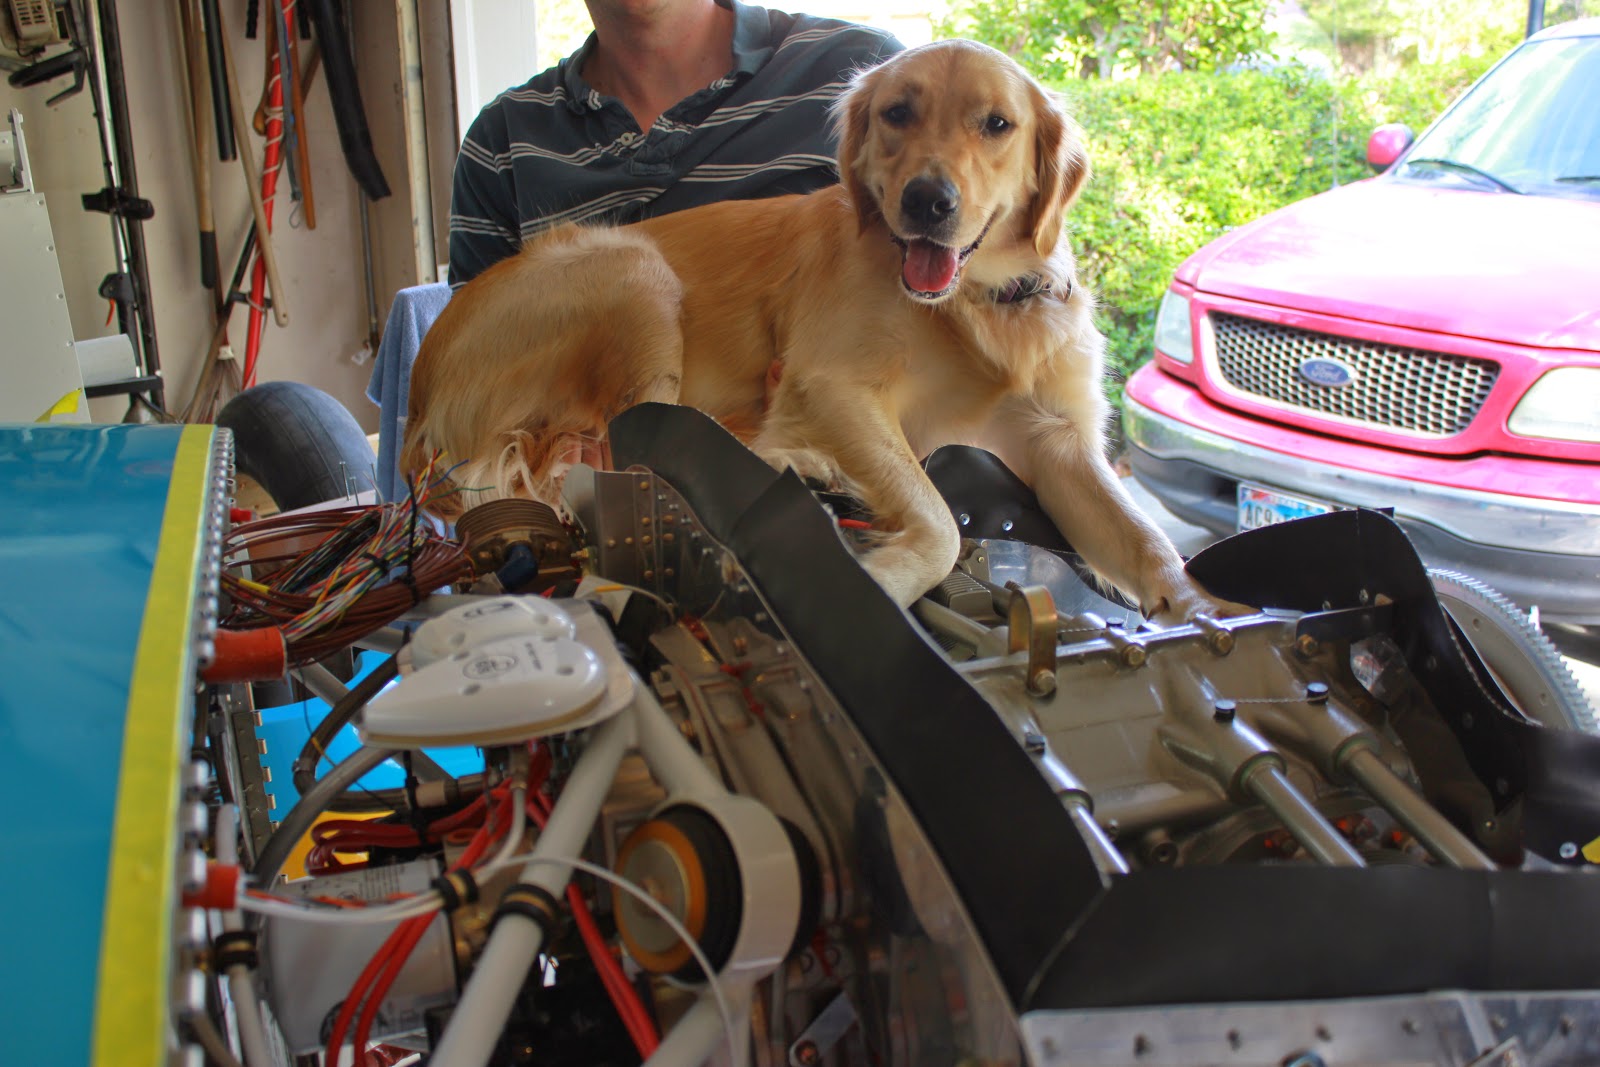
Austin was home for the weekend and installed the ignition harness while I finished the baffles.

He tried to convince me that Nova could help but I wasn't buying it. She does look happy for the attention, though.
Here's our routing behind the baffles.

And the routing inside the baffles going to the spark plugs.

He tried to convince me that Nova could help but I wasn't buying it. She does look happy for the attention, though.
Here's our routing behind the baffles.
And the routing inside the baffles going to the spark plugs.
Friday, October 17, 2014
Baffle Air Seal
Here's the air seal fabric on the baffles. I've taped it down to get the right bend so it seals well to the underside of the top cowl. Only a little more to go and I'll be through with the baffles.

Wednesday, October 8, 2014
Finishing Baffles
The finish line for the baffles is in sight. Only the rubber gasket around the top to finish. Here's the oil cooler mounted.

And the filler for the aft cylinder spark plug access holes. These were not detailed well on the plans so I'll show how I did them.


And the filler for the aft cylinder spark plug access holes. These were not detailed well on the plans so I'll show how I did them.

Here is one of the stainless pins that go under the baffles to connect them together. It was challenging to cut the 6-32 threads.
Wednesday, September 24, 2014
Paperclip Baffle Trimming
Here's how I measured the baffles so I could trim them to the proper height. Paperclips. Set them around the perimeter and put the top cowl in place and then measure from the top of the paperclip to get your clearance distance. Fast, accurate and easy. What could be better?

Monday, September 22, 2014
More Baffle Work
Work continues on the baffles. I didn't think they would take this long. They're not difficult. It's just time consuming to trim and then test fit and then disassemble everything to trim a little more and then do it again over and over. And it's important to get it right to insure the engine cools properly. In the picture below, it doesn't look like much work has been done but every piece has been hand fitted. There are so many different engine combinations and variations that it would be impossible to have baffles that fit every situation so they're made extra large to be cut to size. The baffles are the shiny aluminum panels that make a box around the engine to direct cooling air over the fins. When I'm finished, the panels will have a flexible rubber gasket around the top that seals against the underside of the top cowling.

Subscribe to:
Posts (Atom)

