

Monday, November 22, 2010
Finished Both Ailerons
Here, I've finished both ailerons. What does that have to do with a penguin hat, you might ask? My daughter, Shelby, thought I should wear funny hats in in my pictures. This is my son's hat that he wears to Wurstfest. You can see the next hat in the background!

Wednesday, November 17, 2010
Finished Right Aileron
Here, I've finished the right aileron. You might ask yourself, "self, why is he wearing a cheesehead?". It's not some subtle homage to the home of the EAA and Airventure in Wisconsin (which produces 25% of all the cheese made in the United States). It's simply that Shelby said it would look funny if I wore a cheesehead in one of my pictures. Oh, and the aileron turned out great. I'm really looking forward to checking out the flying characteristics of the superbly folded trailing edge.


Tuesday, November 16, 2010
Red Green - How To Build Your Own Airplane
I wasn't sure how to build this air-o-plane thing so I got this book.
Monday, November 15, 2010
Riveting Ailerons
Here, I'm final riveting the right aileron. I'm using the old fuel tank/leading edge cradle to help hold open the bottom of the aileron so I can get to the top rivets.


Friday, November 12, 2010
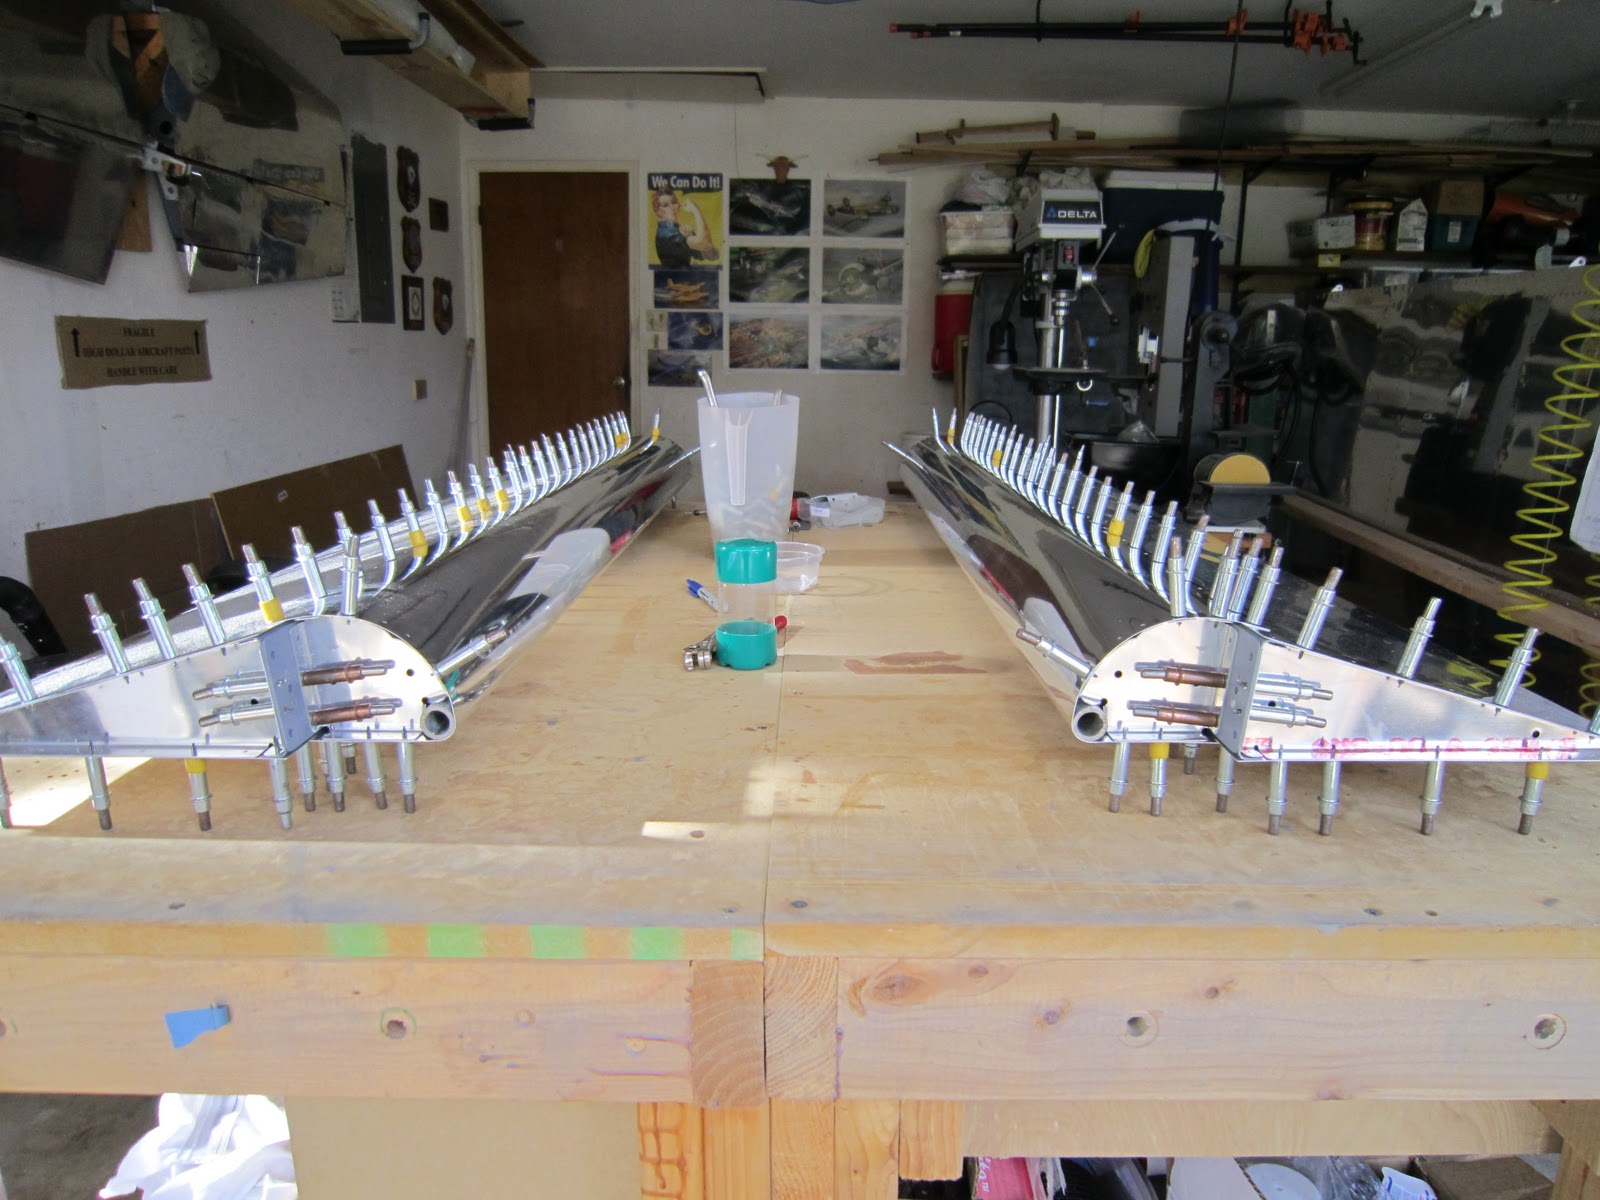
Ailerons Ready To Final Drill
I took Veteran's Day off as I am a veteran and got a lot of work done on the ailerons. I had planned on working half a day on the plane and the rest in the yard but it was a little rainy so I couldn't do the yard. No problem, I'll just keep working on the ailerons!

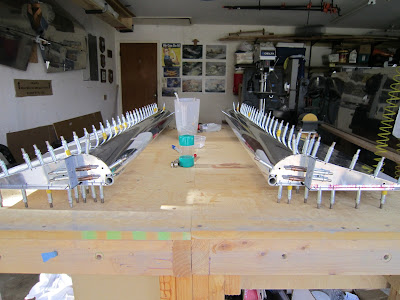

They're both ready for final drilling and then the usual deburring, dimpling, priming and then reassembly for final riveting. The only thing new in this go-around is the counterbalance. It's a galvanized water pipe that needs to be drilled and countersunk. You can see it in the picture above on the far left. OK, I know you're thinking to yourself, "self, what's with this cheesy water pipe thing". It just happens to be the perfect weight for a counterbalance since the controls are all balanced (which is a really top quality thing) and it's simple and weather proof. And, it's smoothly cut to within 1/64th of the nose skin. Now that's quality control especially since it's just a water pipe. If you really want to read more about aileron balance weights, the link takes you to a wikipedia article about them. Right below balance weights is a section on Frise ailerons, which is what you're looking at in these pictures.
Thursday, November 11, 2010
Folding Aileron Trailing Edge
The folding of the aileron trailing edges came out really well. Below, I'm checking that the skin is straight all the way back to where the radius starts. It is.


Monday, November 8, 2010
Back Rivet Plate
Here's my inset back rivet plate. It's 3/4 inch thick plate steel and 9"x15". It's flush with the top of my workbench surface and I leave it in place all the time. I beefed up the frame and added screws to level it. I got it smooth by starting with a belt sander with 80 grit and working my way up to about 320 grit on a palm sander. I protect it with Boeshield. I've had it in my workbench since I began building but I never had a picture of it to show others.


Finished Aileron Stiffeners
This is another example of where my best work will never be seen. The aileron stiffeners will be totally enclosed when the ailerons are finished. No one but me will know that every stiffener was carefully match drilled with every hole and edge deburred to remove any stress risers. All 32 of the stiffeners were marked for location and all the mating surfaces were cleaned and primed. You can see the beautifully flush rivets on the outside but you can't see all the carefully measured shop heads of the rivets on the inside. Oh well...at least I know.
Paula helped put the rivets in the holes and covered them with rivet tape and then taped the stiffeners in place...all the while watching football with me. Cowboys got whipped 45-7 by Green Bay. She said she should be nominated for the best wife ever. You are hereby nominated but you have to read this to find out.

Paula helped put the rivets in the holes and covered them with rivet tape and then taped the stiffeners in place...all the while watching football with me. Cowboys got whipped 45-7 by Green Bay. She said she should be nominated for the best wife ever. You are hereby nominated but you have to read this to find out.

Saturday, November 6, 2010
Started Work On Ailerons
Here are the stiffeners for the inside of the ailerons. 32 in all, 16 for each aileron with 8 each on the top and bottom skins. The repetitive tasks are sometimes the hardest as you do the same thing over and over and over...


Plans page for the ailerons. Getting much easier as I get more practice reading them.

Friday, November 5, 2010
Finished Aileron Gap Seals and Flap Braces
Below, I've finished the aileron gap seals and flap braces and now it's time to move on to the ailerons and flaps themselves.


The bottom skins will go on after everything has gone into the wing body like the pitot tube, the wiring and the flight control parts. Nice to finish a minor milestone.

Subscribe to:
Posts (Atom)

