Thursday, April 12, 2012

Installing Landing Gear Mount

I've started installing the landing gear mounts and have finished the right one except for torquing the nuts and bolts. It wasn't terribly hard but it did take a lot of taking the mount on and off and then incrementally trimming and filing. I did have to remove the three platenuts on the gold anodized flange just above the piece of wood in the picture. They will be easy to reinstall and they were getting in the way.

 
Here, I've temporarily installed the right landing gear. It looks small in the picture but it's really a beefy hunk of metal. It will look larger with the wheels, wheel pants and fairings installed.


Tuesday, April 10, 2012

Drilled the Upper Landing Gear Mount

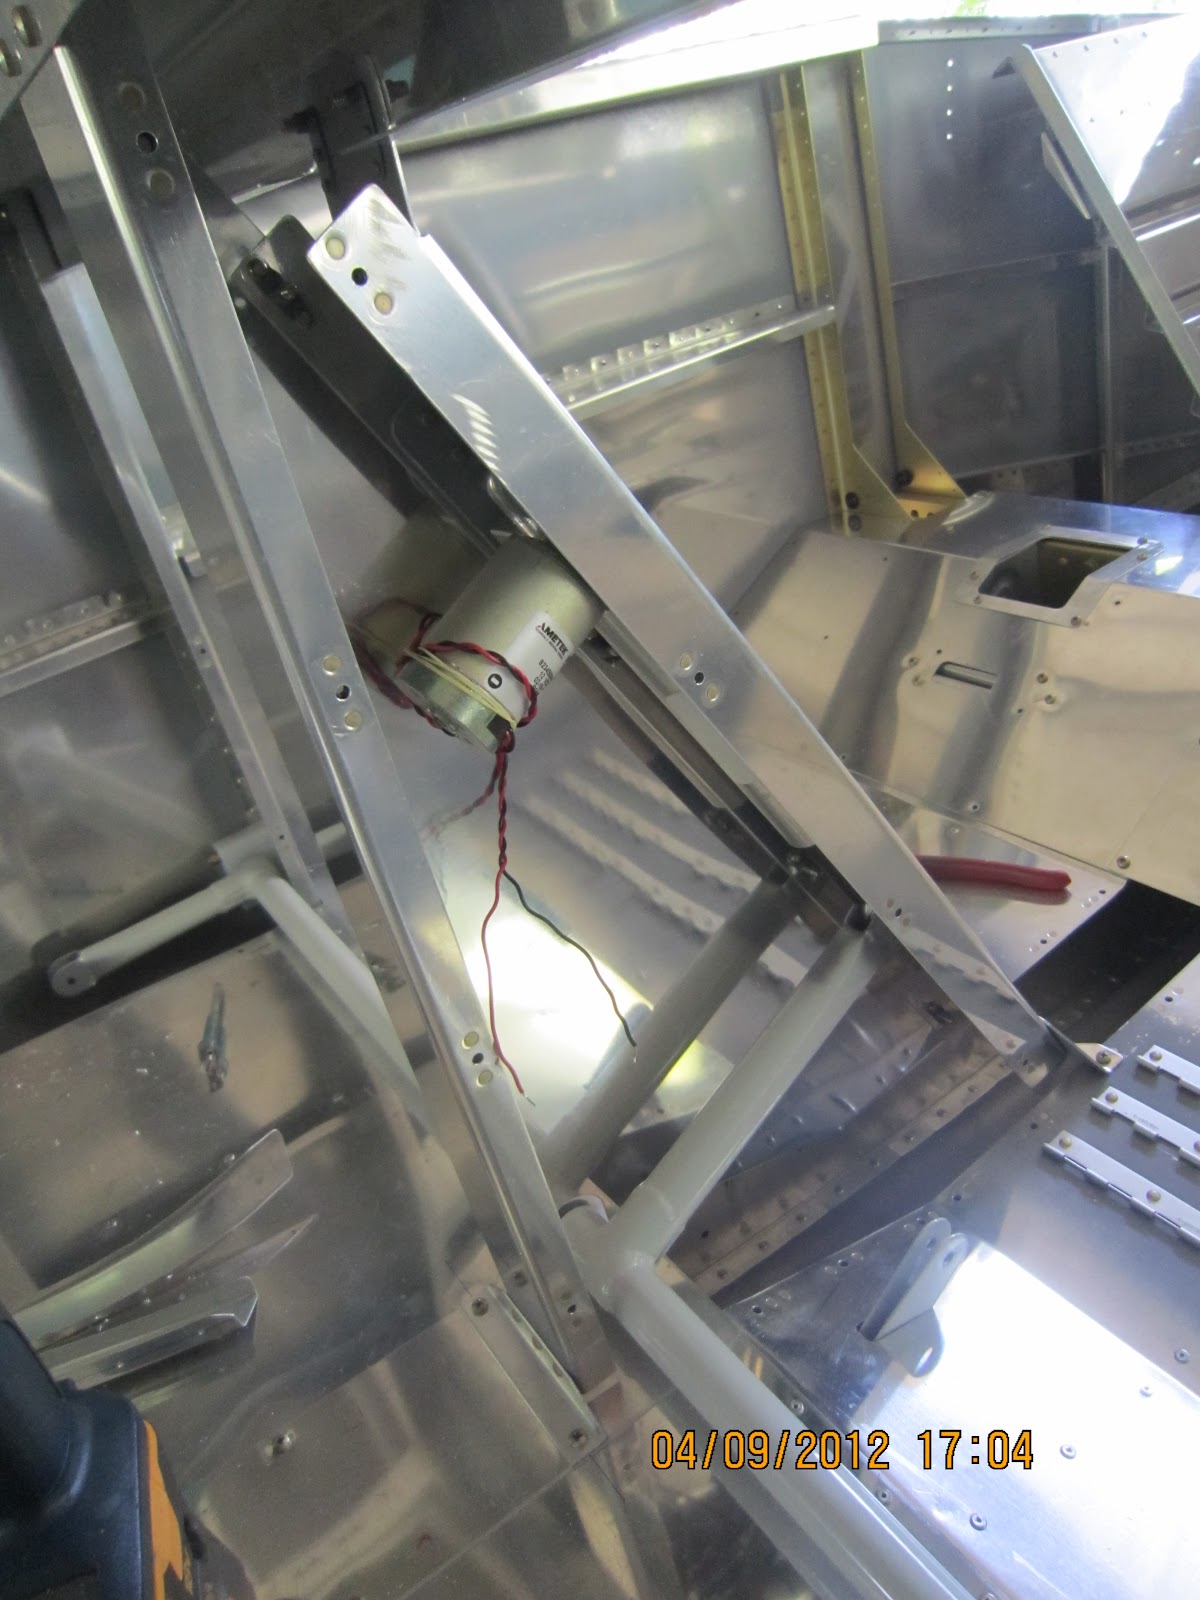
I drilled the landing gear mount holes last night. There is one big bolt at the top that holds the leg. It wasn't nearly as difficult as I thought it was going to be and only took about 45 minutes. I used my new .311 reamer and the holes in each mount turned out great. I test fit the AN5 bolt and it's a perfect snug fit.


I had to lightly file and sand the openings of each gear mount to remove a little powder coating and then I greased the gear legs so they would slide in smoothly.


I put some Boelube on the reamer and used a curved dental pick to make sure the holes in the mount and gear leg were aligned. Now it's time to install the mount in the fuselage.


Monday, April 9, 2012

Finished the Electric Flap Actuator

I've finished the electric flap actuator. This picture is taken before I put the last cover over the flap motor. The triangle shaped housing sits between the seats and provides a lot of rigidity to the cross member behind the seats.

Tuesday, April 3, 2012

Finished The Center Cabin Covers

I finished and installed all the center cabin covers. They cover the fuel lines, pump and valve. Here are most of the parts on the workbench.

 
The big cover is supposed to be 15/16ths above the floor which is not all the way down flush so this is the simple jig I made to set the height. It's cut to 15/16ths tall with a notch cut out to fit over the angle and the top edge rounded to fit the curve of the cover. The width is a little short to allow the cover to nest inside and be snug for a solid drill base. Fast and easy and wouldn't change a thing as it turned out great. Now, on to the electric flaps!
 

Monday, April 2, 2012

Finished Seat Backs and Tunnel Cover

Here, I've finished both seat backs and the tunnel cover. Second one always goes much faster.