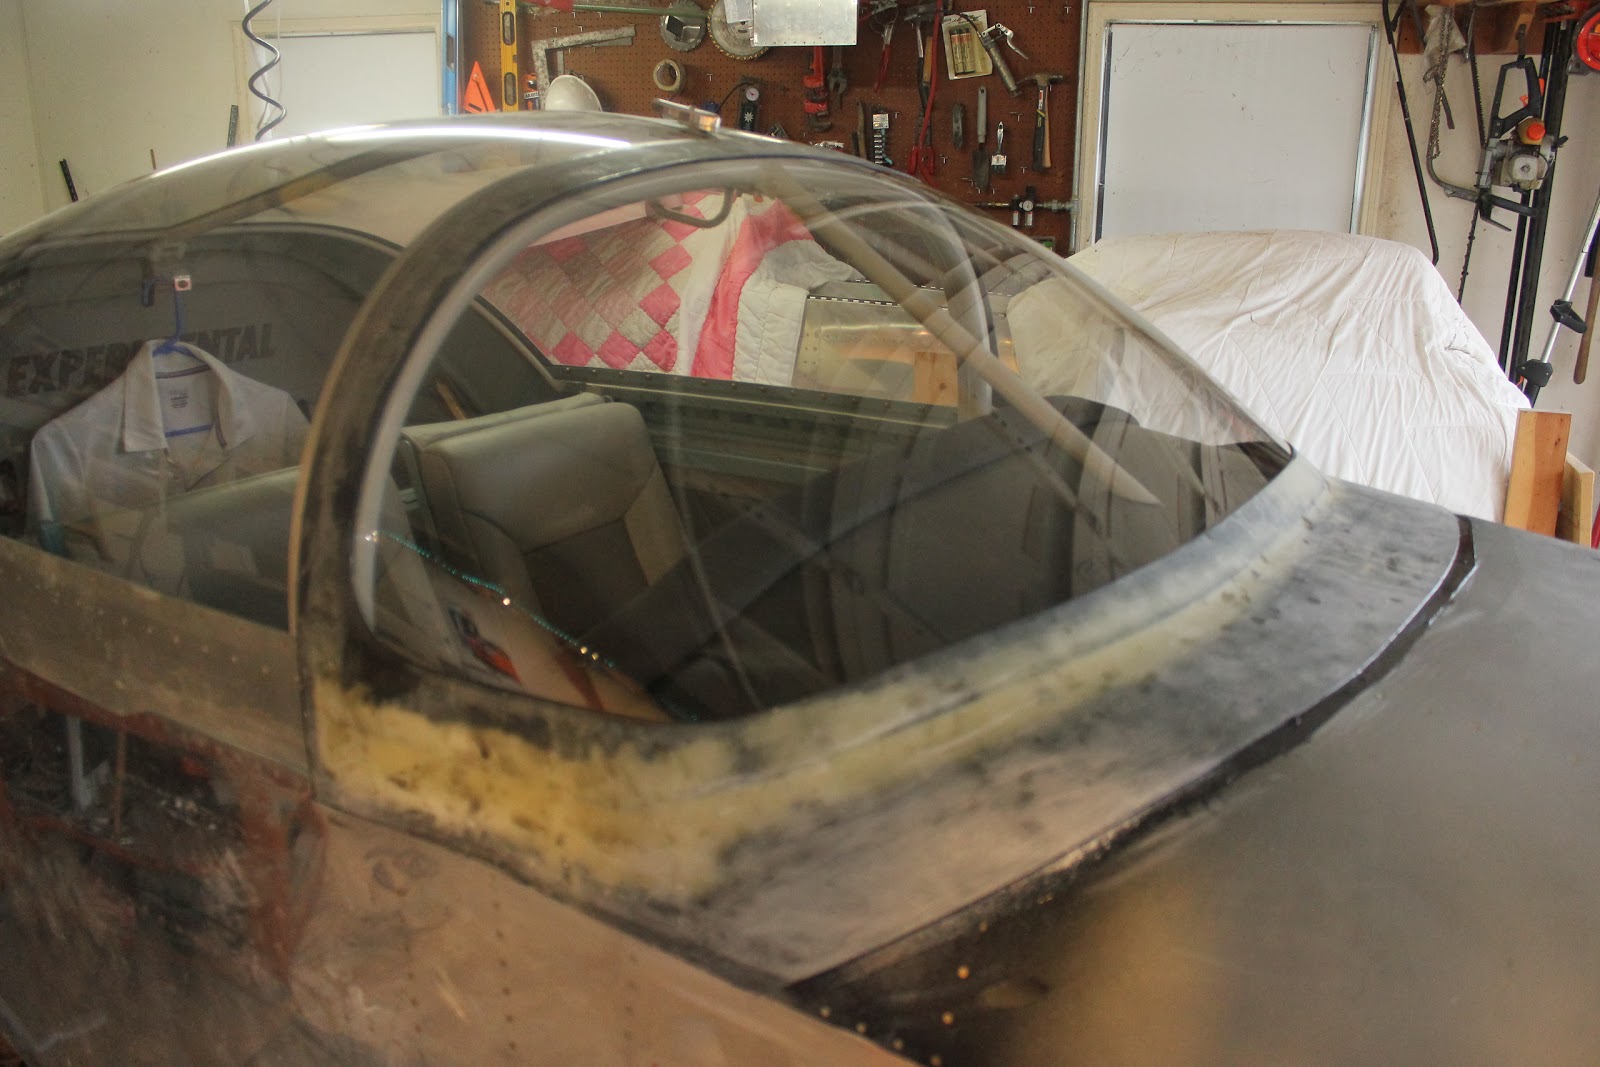
I'm ready to start on the front windscreen fiberglass fairing and have everything covered and waxed. Looks like someone's angry that I haven't finished the canopy yet. I'm planning on doing the fiberglass this Saturday and hopefully it will go faster than the aft canopy fairing now that I've got some experience.
My first attempt at a fairing was a bust. I ran out of the nice 9 oz. 8 harness bi-directional (BID) fiberglass so I used some fiberglass tape from West Marine and used the stipple method. I also used black dye in the resin. With the dye, I couldn't tell if the resin was saturated correctly and couldn't see the positioning as it wasn't transparent. I'm sure glad I made the fairing removable because I didn't like the results at all.
I ordered what I wanted from Aircraft Spruce (7781-60 FIBERGLASS CLOTH STAND 7781-60) and started over. The way I like to do it is to start with a large piece of cloth sandwiched between clear medium thick plastic. Then I use a paper template and roughly mark an outline with Sharpie on the plastic.
Then I peel back the top layer of plastic and pour resin on the cloth where the pieces will be. Marking with the Sharpie leaves a faint outline or you can just estimate as the exact position isn't critical.
Then I carefully put the top layer of plastic back and start rolling the resin. The roller I use was bought for rolling plastic Formica counter tops but any will work. I like this one because it cleans easily with acetone without damage.
After all the fiberglass inside the lines is thoroughly saturated and all the excess resin is rolled out to the side, I cut the pattern with a rotary cutter. It helps a bunch to have a self-healing cutting mat below and both can be bought at a hobby or sewing center like Hobby Lobby.
Pull away the excess and you're left with this.
It's easy to peel off one side of the plastic.
Then lay the section where you want it and smooth it out by hand or with a roller before peeling the top layer of plastic. I use a small roller that was a wallpaper roller in its previous life.
I much prefer this method as it's very easy to handle and gives total saturation of the cloth with NO extra resin. It does take longer, though plus there's some wasted cloth. Here's what it looks like after drying and some sanding and trim work. I have several iterations left before I glue it down but it's looking good so far. This is four layers of 9 oz. BID cloth. It may be a little thick but I don't want to worry about the top lip breaking from people using it as a hand hold to get in and out.