

Thursday, January 29, 2015
Empennage Fairing
I'm working on the empennage fairing. Next time, I won't go to the trouble of making a one piece fairing. Too much work for not much in return. It fits well so I just need to prime and sand before painting.
Tuesday, January 27, 2015
Brakes And Brake Lines
Austin was home for my birthday party and helped me repack the main wheel bearings and drill the axle shaft holes for the big cotter keys. I also fabricated and installed the brake lines between the fuselage and calipers. The green cushion (made from a pool noodle) is to keep me from bending the wheel pant bracket by catching my foot on it.

Friday, January 23, 2015
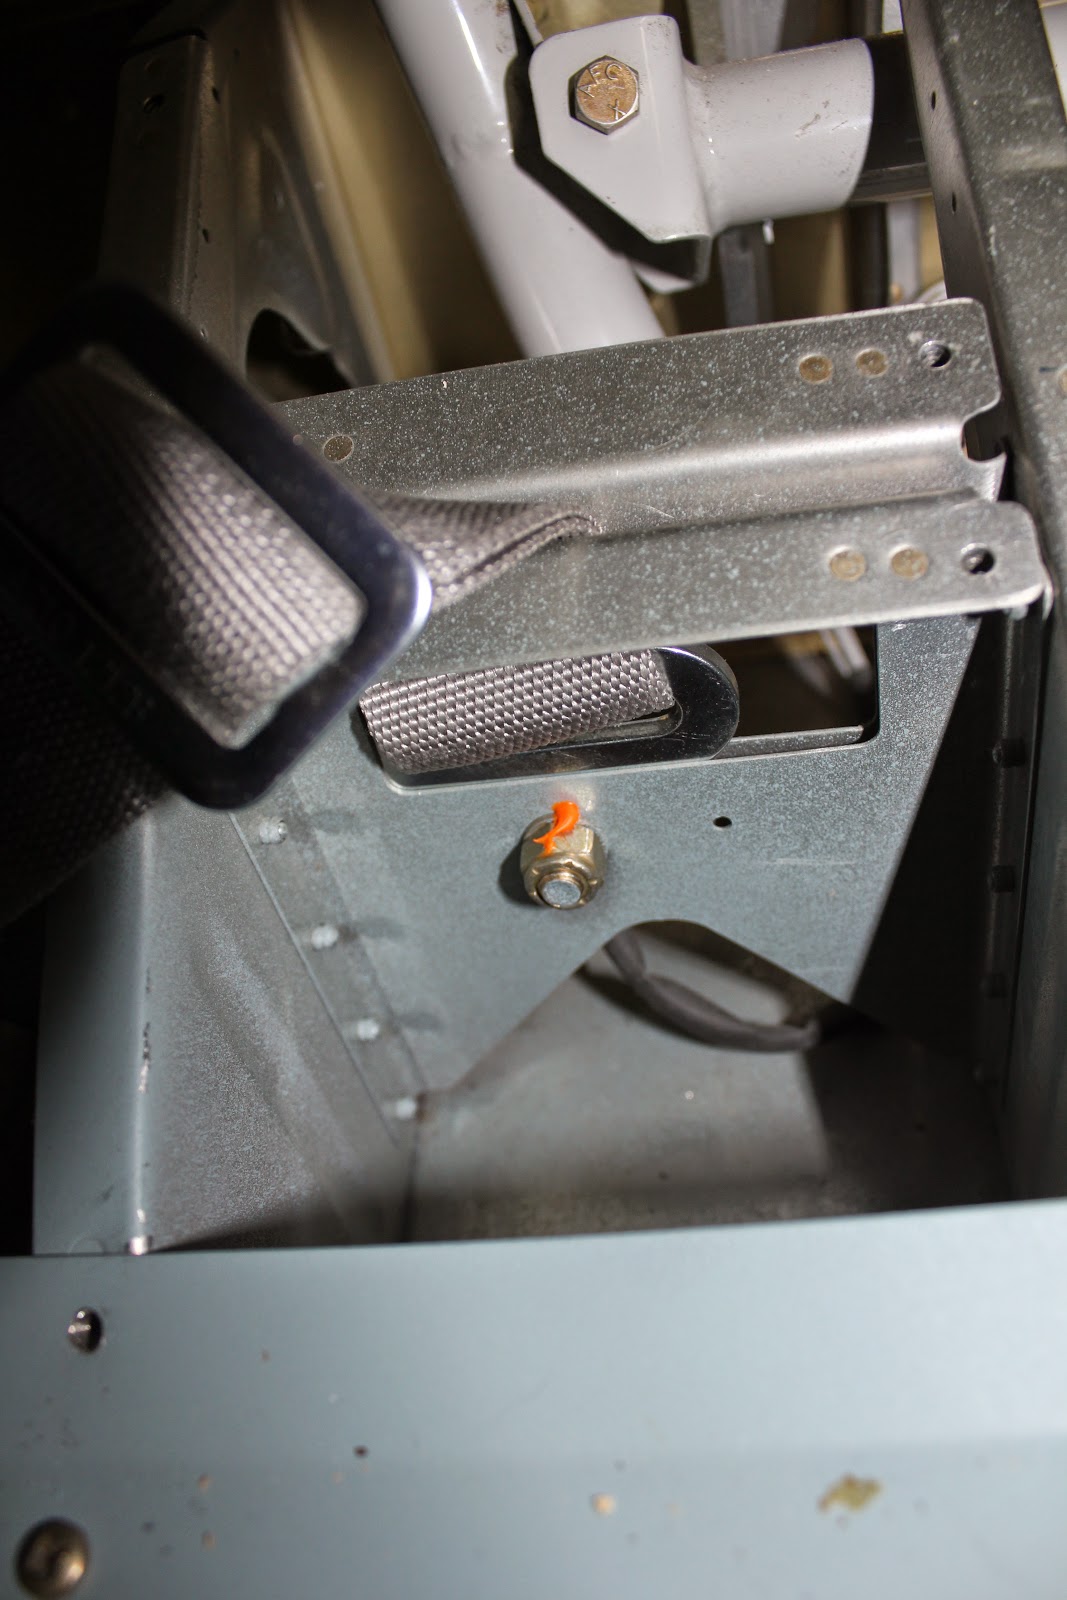
Fifth Point Harness Installed
I installed the fifth point harness (also known as the crotch strap) last night. The hard part was taking out the trim and floorboards.

Here's the anchor connection. The Crow tab or tang is too long so you drill a hole above the existing one and everything fits fine.
Here's the anchor connection. The Crow tab or tang is too long so you drill a hole above the existing one and everything fits fine.
Thursday, January 22, 2015
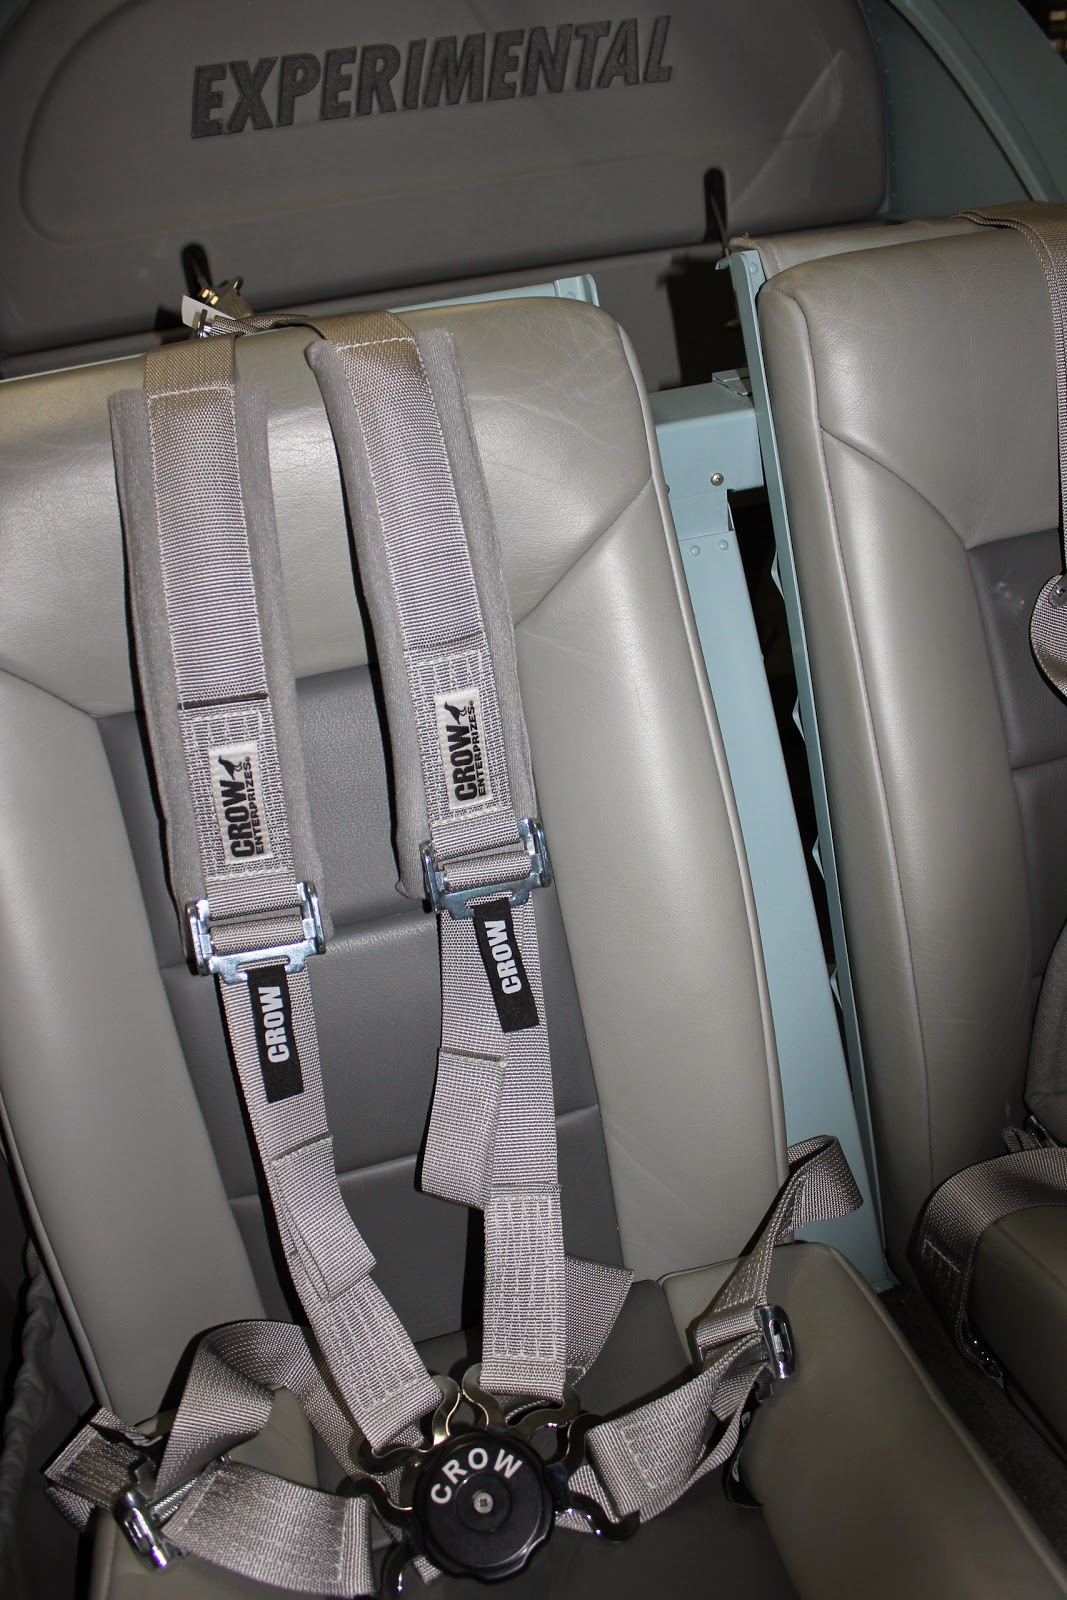
Seat Belts and Interior Trim
I'm getting the interior fit and finished. Here are the Crow seat belts installed on the passenger side. I still need to fit the 5th point belt (crotch strap) but I tried them out last night while I was updating software and they're very comfortable.
Here are some of the baggage compartment panels and you can see where the shoulder harness anchors come through.

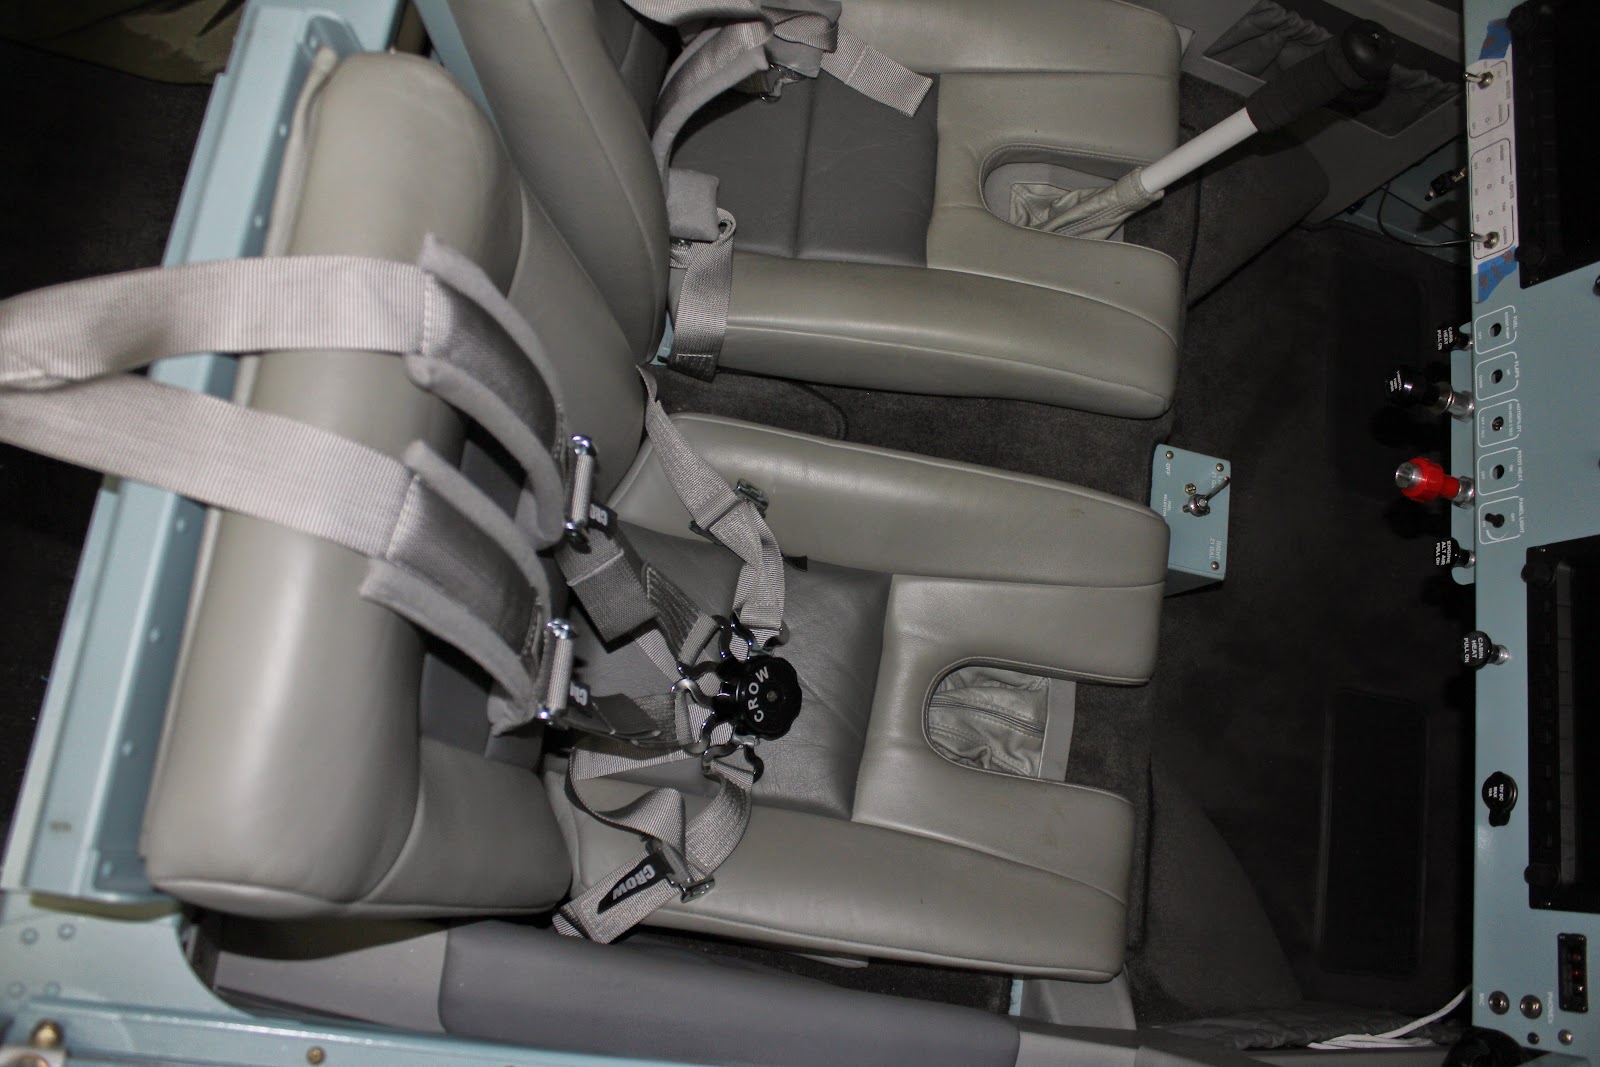
Here you can see the front cockpit and some of the side panels and carpet. Very comfy.
Here are some of the baggage compartment panels and you can see where the shoulder harness anchors come through.
Here you can see the front cockpit and some of the side panels and carpet. Very comfy.
Sunday, January 18, 2015
First Labels
Here are my first labels on the fuel selector plate. I'm happy with the way they turned out so now it's on to the panel in the airplane.

Friday, January 16, 2015
Laminator
Here's the heavy duty laminator I got for Christmas from my Dad. It's an Apache AL18P as specified by the Decal Pro folks. The Decal Pro instructions have you make a few adjustments to the laminator which I've done so now it's on to practicing making labels.

Monday, January 12, 2015
Started Panel Labels
I taped paper copies of the panel and switch labels to the panel to check for fit. Once I get everything the way I want it, I'll create them in the dry transfer kit I got for Christmas from my Dad.


Here's my proof sheet for labels. I might change a few items but this is close. The round ones will go on the face of the knobs. Everything below was created with Google Docs free online drawing program. The only graphic I imported was the USB symbol. Here's a link to the file: Panel Labels 2
Sunday, January 11, 2015
Cowl Heat Barrier
Installed the cowl heat barrier. The exhaust is close to several spots on the lower cowl and this reflective material keeps it a little cooler.

Finished Filtered Air Box
I finished the filtered air box (FAB) and all the connections. This shows the cable connections for carb heat.
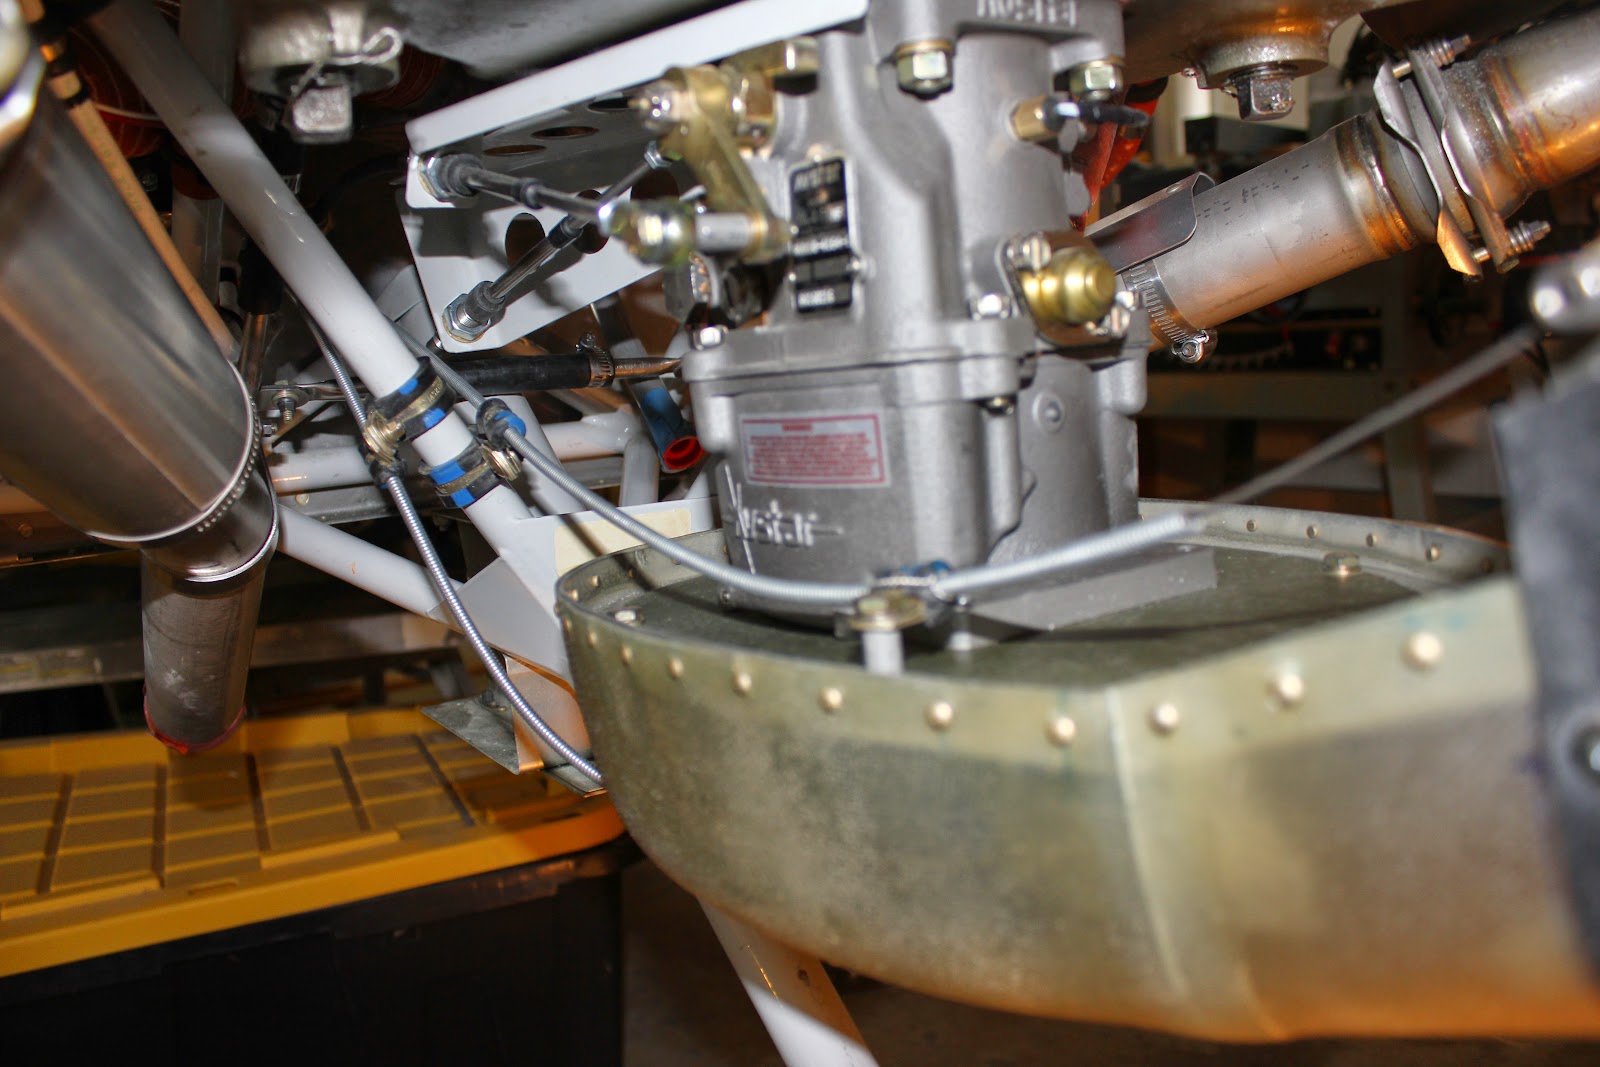
Here's a bottom view showing the alternate air door. This should be the last major firewall forward or engine related work. I'll still need to go over everything to make sure it's secured and torqued and safety wired as needed.
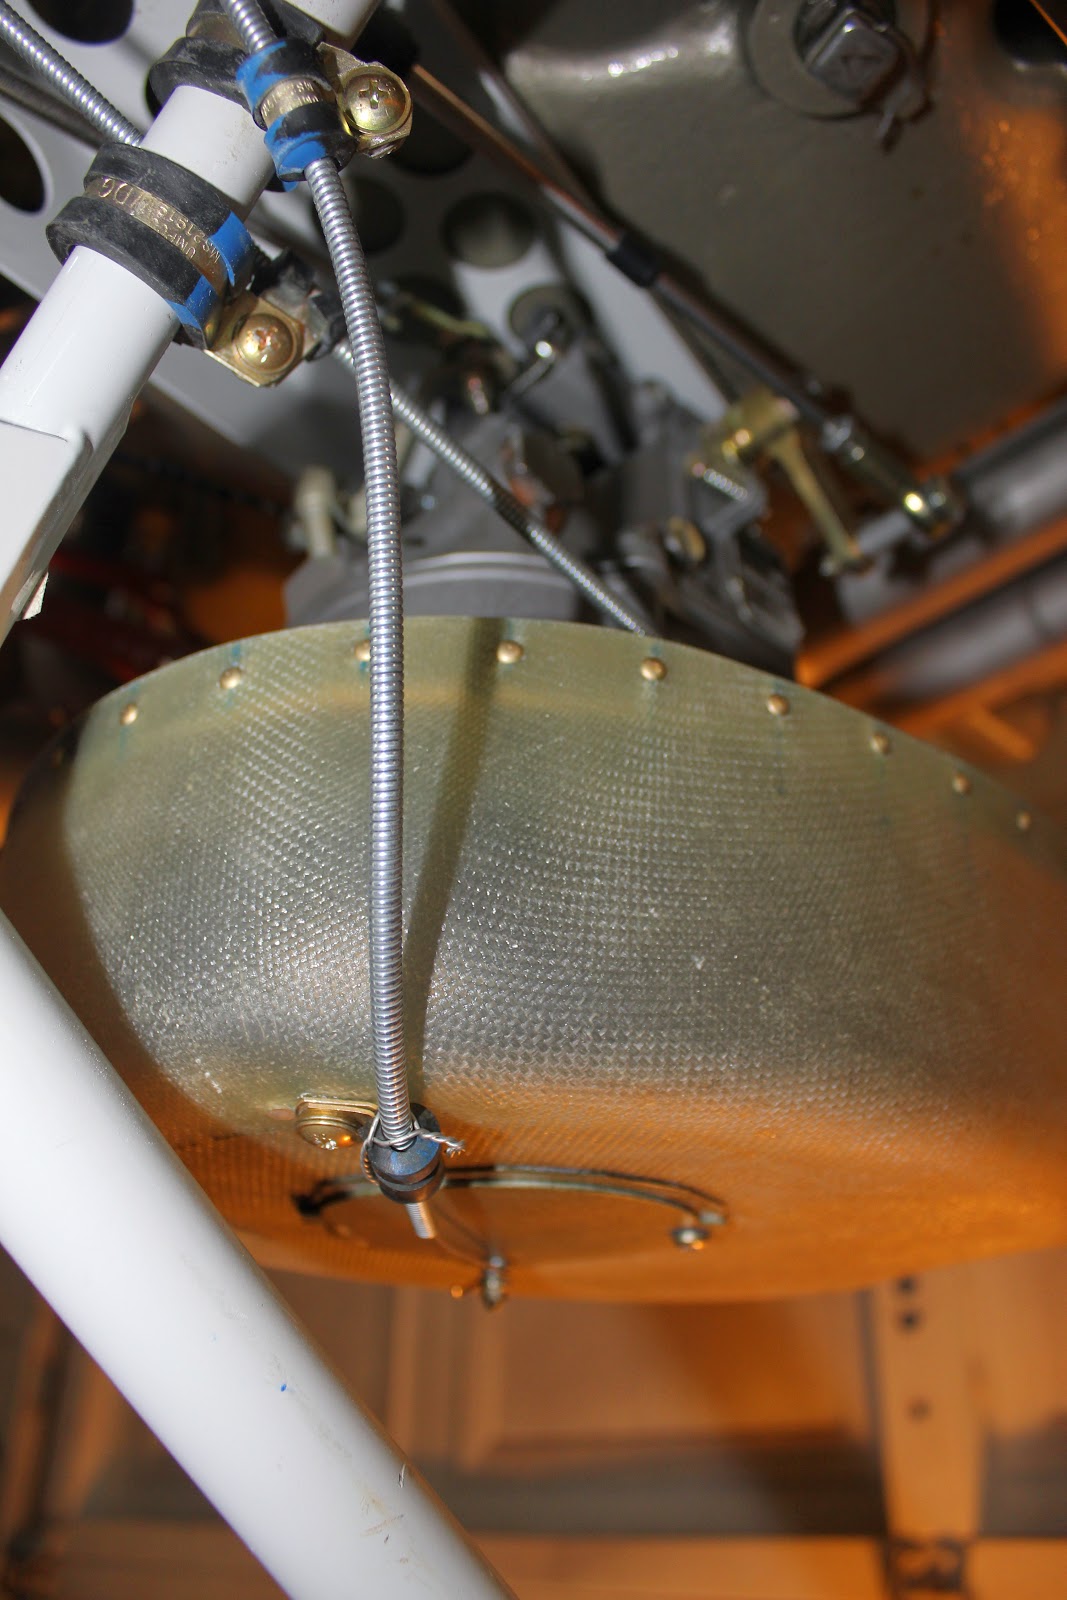
Here's a bottom view showing the alternate air door. This should be the last major firewall forward or engine related work. I'll still need to go over everything to make sure it's secured and torqued and safety wired as needed.
Tuesday, January 6, 2015
Alternate Air Door
This is the alternate air door. It's the almost round thing on the bottom of the air box with two screws. If anything clogs the normal intake or filter, you pull the knob in the cockpit that opens the door to let air in through the bottom bypassing the filter. I've finished almost all the construction of the air box and intake. I just need to do the final installation connecting cables and making it pretty by sanding and painting the front and inside of the snorkel.

Friday, January 2, 2015
Carburetor Heat
This is the intake for carburetor heat on the air box. The lever that sticks up in the upper right of the photo will connect to a cable in the cockpit for activating it. Only riveting left to finish it.

Subscribe to:
Posts (Atom)

