Tuesday, August 26, 2014

Throttle Quadrant

Last night I started on the throttle quadrant that has the throttle, mixture, carburetor heat and alternate air knobs. It's attached to the bottom middle of the panel.


And here it is installed a few days later. I'm waiting for two firewall penetration grommets to finish but everything else in the cockpit for the control quadrant is finished.


Monday, August 25, 2014

Wings Painted

I painted both wings this weekend. I was glad to have two compressors as they were both working hard to supply enough air to the paint gun. There is a lot of surface area on a wing. Both turned out well. I only had a few spots on the underside of one of the wings where I drug my supplied air hose. I was being careful with both air lines but forgot about the rubber hose that comes out of the air mask.


The left wing is temporarily suspended above the rack so it won't mar the paint before it's fully dry. The biggest parts left to paint are the wingtips. Then it will be trim pieces and the landing gear and wheel fairings to finish.

Monday, August 18, 2014

Wing Rotisserie

I'm prepping the wings for paint and here's how I'll rotate them. A 4" diameter plastic drain pipe fits perfectly into the lightening hole just aft of the main spar and is run almost to the aileron bellcrank. A 2x4 fits into the pipe and is screwed to the sawhorse. A short length of plastic pipe in one of the small lightning holes holds the wing horizontal and can be slid in when you want to rotate the wing.


I did the same thing on the other end and the balance point is perfect with the trailing edge of the wing being just a little heavy.

Thursday, August 14, 2014

Left Aileron Painted

I got up early today and painted the left aileron before work while it was still cool. Forecast highs for the next 4 or 5 days are 100 plus. This is a good shot of the rotisserie I've been using. I'll get the right aileron painted this weekend and start prep for painting the wings.

Sunday, August 10, 2014

Spinning Spinner Painted

I was worried that I wouldn't be able to paint the spinner evenly or that I would get runs and dry spots because of the complex shape. I asked several friends for advice and ended up using Daniel's idea. I used scrap wood left over from the canopy frame bending jig to make a box to hold the drill. Then I sanded the top of a screwdriver handle flat and attached the front spinner plate to it with a lag screw. Next, I put double sided tape on the spinner plate to hold it inside the spinner then chucked the screwdriver in the drill. A piece of aluminum angle is screwed across the drill trigger and tightened slowly to adjust the speed. After getting the speed right, it was pretty simple to just hold the paint gun still and spray for one revolution and then move down for each successive pass. If you zoom into the photo, the stripes you see in the middle of the spinner are the reflection of the roof of the paint booth and not runs in the paint.


Here's the contraption in action on Youtube.


Here's the spinner installed.

Monday, August 4, 2014

Spinner

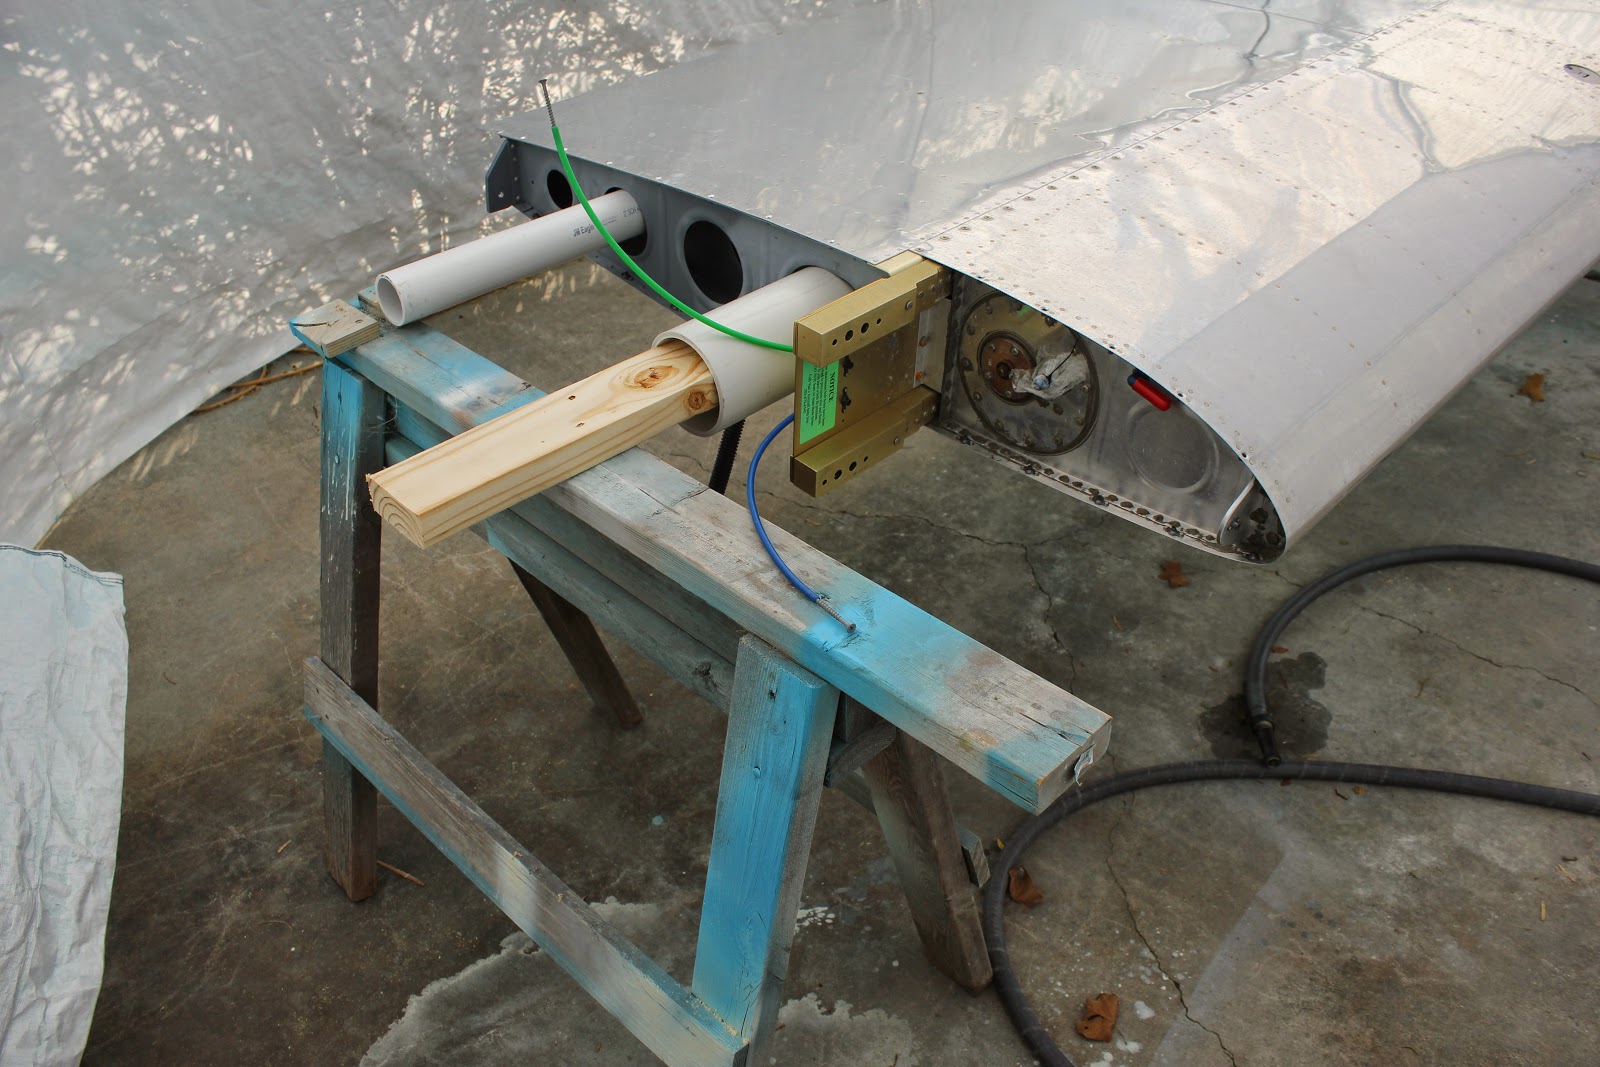
I got the spinner cut, aligned and drilled and started on the two filler pieces behind the prop. The Sensenich template I found on-line wasn't close so I used some card stock and started trimming until it fit. To get the gap consistent, I taped some slick UHMW sheet to the back of sandpaper and slid it up and down around the prop.


I still need to find a way to rotate the spinner while I'm painting it.


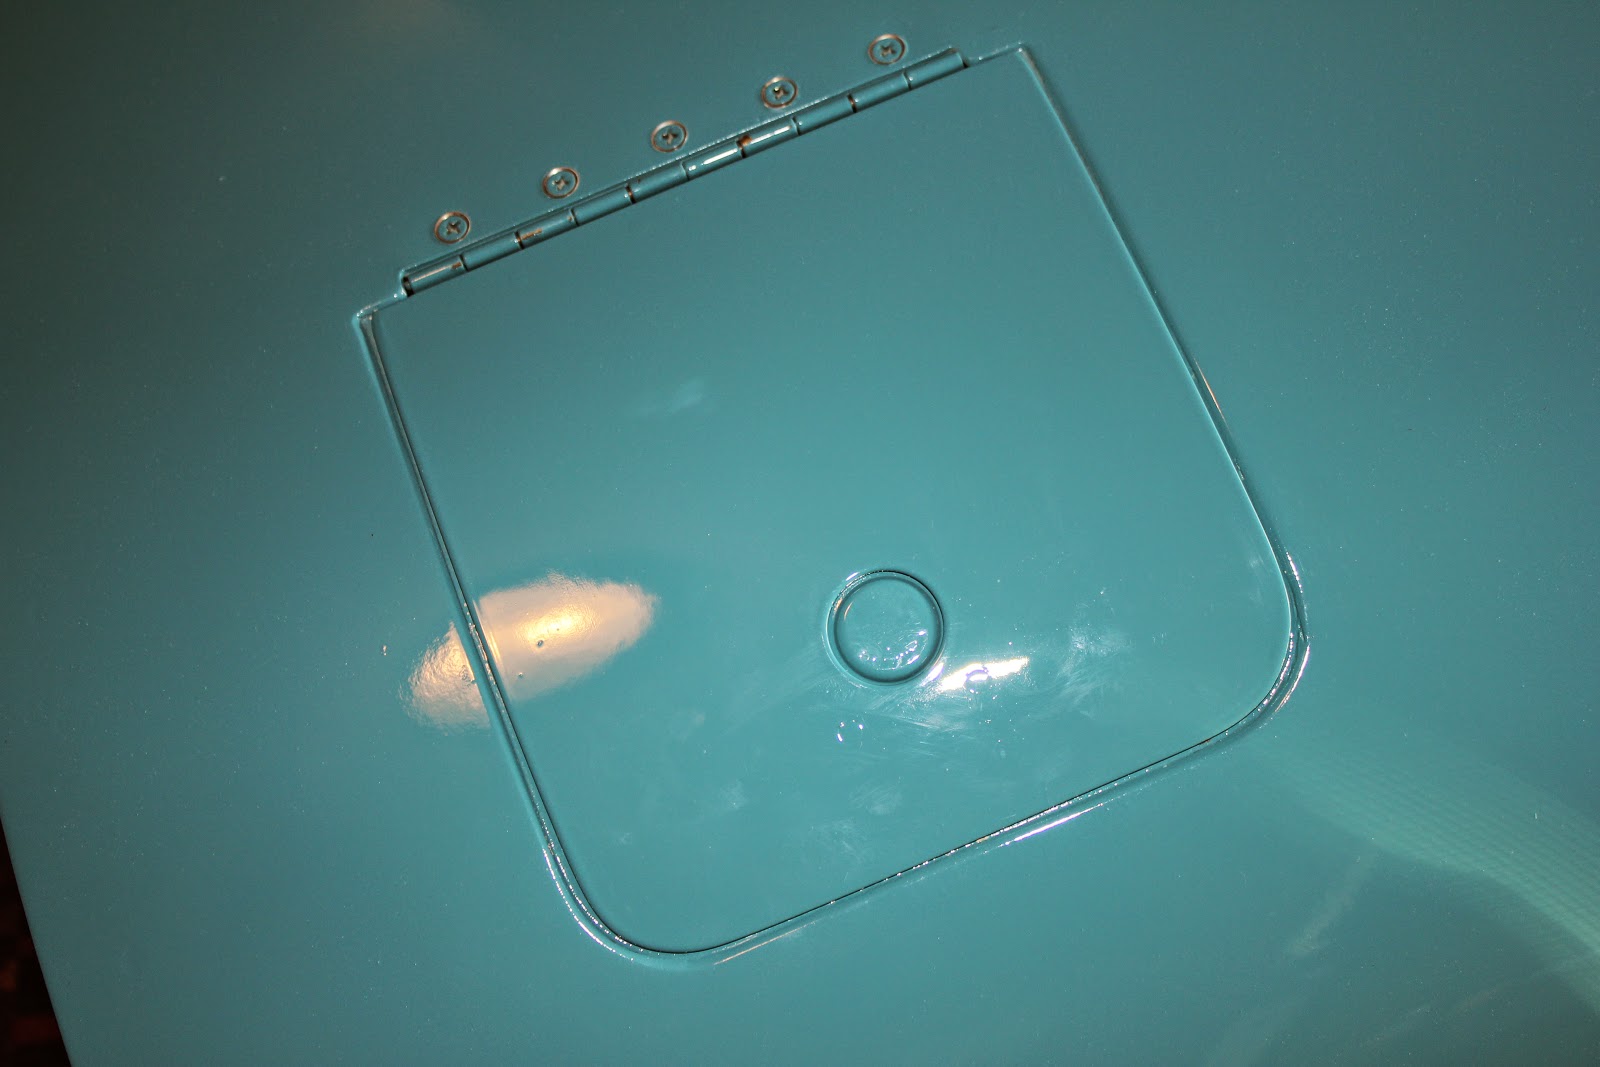
Almost finished with one of the filler pieces. I'll work on the gap and then duplicate it for the other side before dis-assembly and painting.

Oil Door Painted

I finished the oil door on Saturday. I ended up having to modify some tinnerman washers (reduced the diameter) and re-countersink the holes for the screws as the paint was chipping.