

Thursday, January 31, 2013
Panel Layout Progress
Here's the final panel layout. I'm finishing the switch wiring and thought I should temporarily install everything to make sure it fits behind the scenes. It does. Along the bottom of the panel from left to right are the pilot headphone plugs, key starter, protected master and avionics switches, 4 light switches, boost pump, flaps, autopilot disconnect, pitot heat, panel flood lights, heater control, 12 volt accessory plug, emergency locator control and finally the co-pilot headphone plugs.
Wednesday, January 30, 2013
Wiring the Panel
More wiring. Here's the back of the panel with the switches. I haven't secured the wires yet so they are a little sloppy looking. I talked to another builder buddy recently and commented how steep the learning curve has been for all things electrical but that the fog was starting to lift and things were starting to make sense.

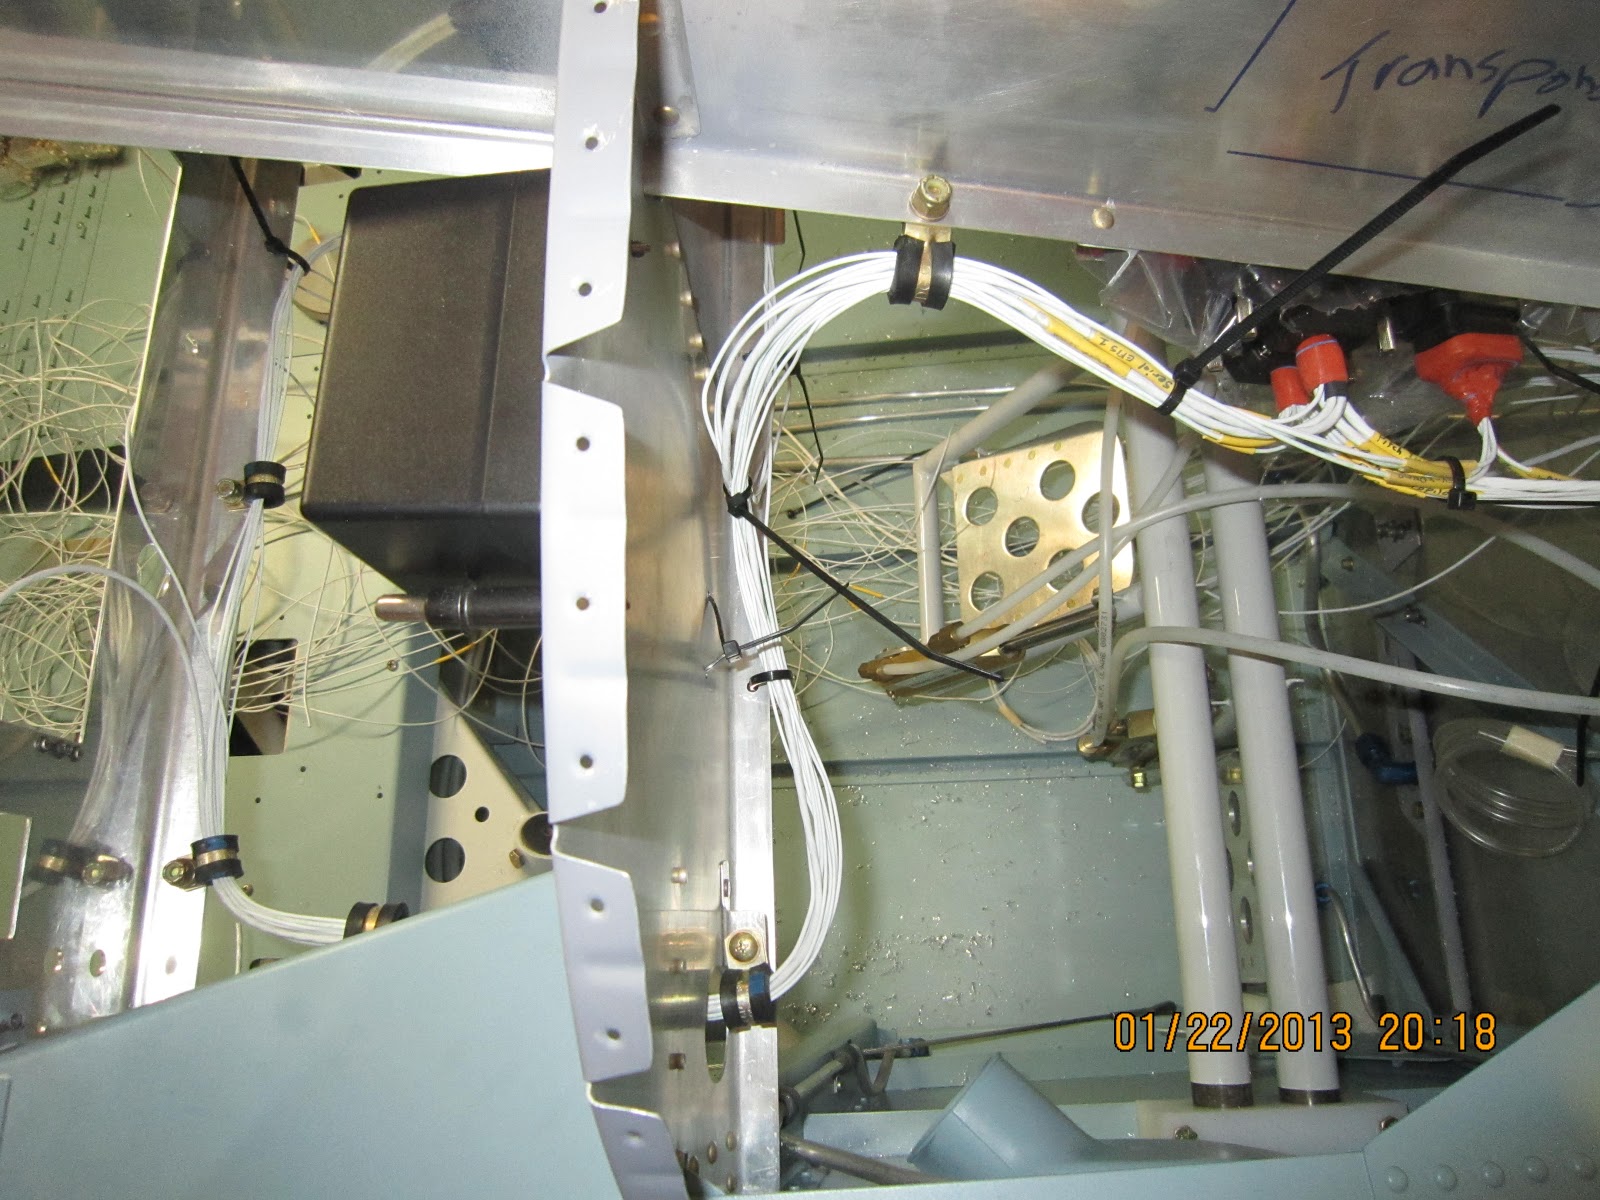
Here's one of the subpanel passthrough holes. I copied the bracket from AC43. I haven't tied the bundle or sized the Adel clamp yet. I also have edge grommeting coming this Friday so it will look a little more professional soon.

Here's one of the subpanel passthrough holes. I copied the bracket from AC43. I haven't tied the bundle or sized the Adel clamp yet. I also have edge grommeting coming this Friday so it will look a little more professional soon.
Wednesday, January 23, 2013
Wiring Bundles
I'm starting to get the wiring into bundles. I haven't secured the bundles yet as I'm sure I will be moving things but this is beginning to look a little less like a "rat's nest".
Friday, January 18, 2013
Installing the VP-X Pro Wiring
I've got all the wires that come out of the VP-X electronic circuit breakers attached and layed in the airplane. It's a good start but there's a bunch of work still to attach them to the things they power. I'll be working on the other panel items like switches this weekend.
More wires in the cockpit.


More wires in the cockpit.
Sunday, January 13, 2013
ANL Current Limiter Installed
Here's the ANL current limiter I installed. It's like a giant fuse that protects the main power supply to all the instruments from a defective alternator. The power from the alternator comes in on the white wire with the white rubber boot and crosses the "fuse" and then goes up on the copper bar to the switched side of the battery contactor and the starter contactor and then through the firewall.

Thursday, January 3, 2013
VP-X Pro Wiring
Happy New Year! I'm coming along well on the wiring. I've almost finished wiring all the connectors for the VP-X Pro electronic circuit breakers. Here are the three power connectors.

Here is one of the two d-sub connectors. The wires that go to the trim system are really small (26 AWG). UPDATE: I did continuity checks with my multimeter on all the wires and found a bad trim wire. It had broken where the pin crimps onto the wire. It's really important to get the small wires immobilized quickly to prevent problems like I had. Much better to find it now instead of after everything is attached in the airplane.
Here is some of the scrap from my "practice" crimping and inserting and removing and re-doing.

Here is one of the two d-sub connectors. The wires that go to the trim system are really small (26 AWG). UPDATE: I did continuity checks with my multimeter on all the wires and found a bad trim wire. It had broken where the pin crimps onto the wire. It's really important to get the small wires immobilized quickly to prevent problems like I had. Much better to find it now instead of after everything is attached in the airplane.

Here is some of the scrap from my "practice" crimping and inserting and removing and re-doing.
Subscribe to:
Posts (Atom)

