Thursday, July 31, 2014

Cowl Hinge Pin

Here's the hinge pin that joins the upper and lower cowl. Not perfect but...


Hopefully better than this sad looking RV.

Full Body Paint

Here are the cowl, fuselage and tail feathers together and fully painted.


Front view. Just the wings, spinner and fairing pieces left to paint.

Monday, July 28, 2014

Cowl Paint

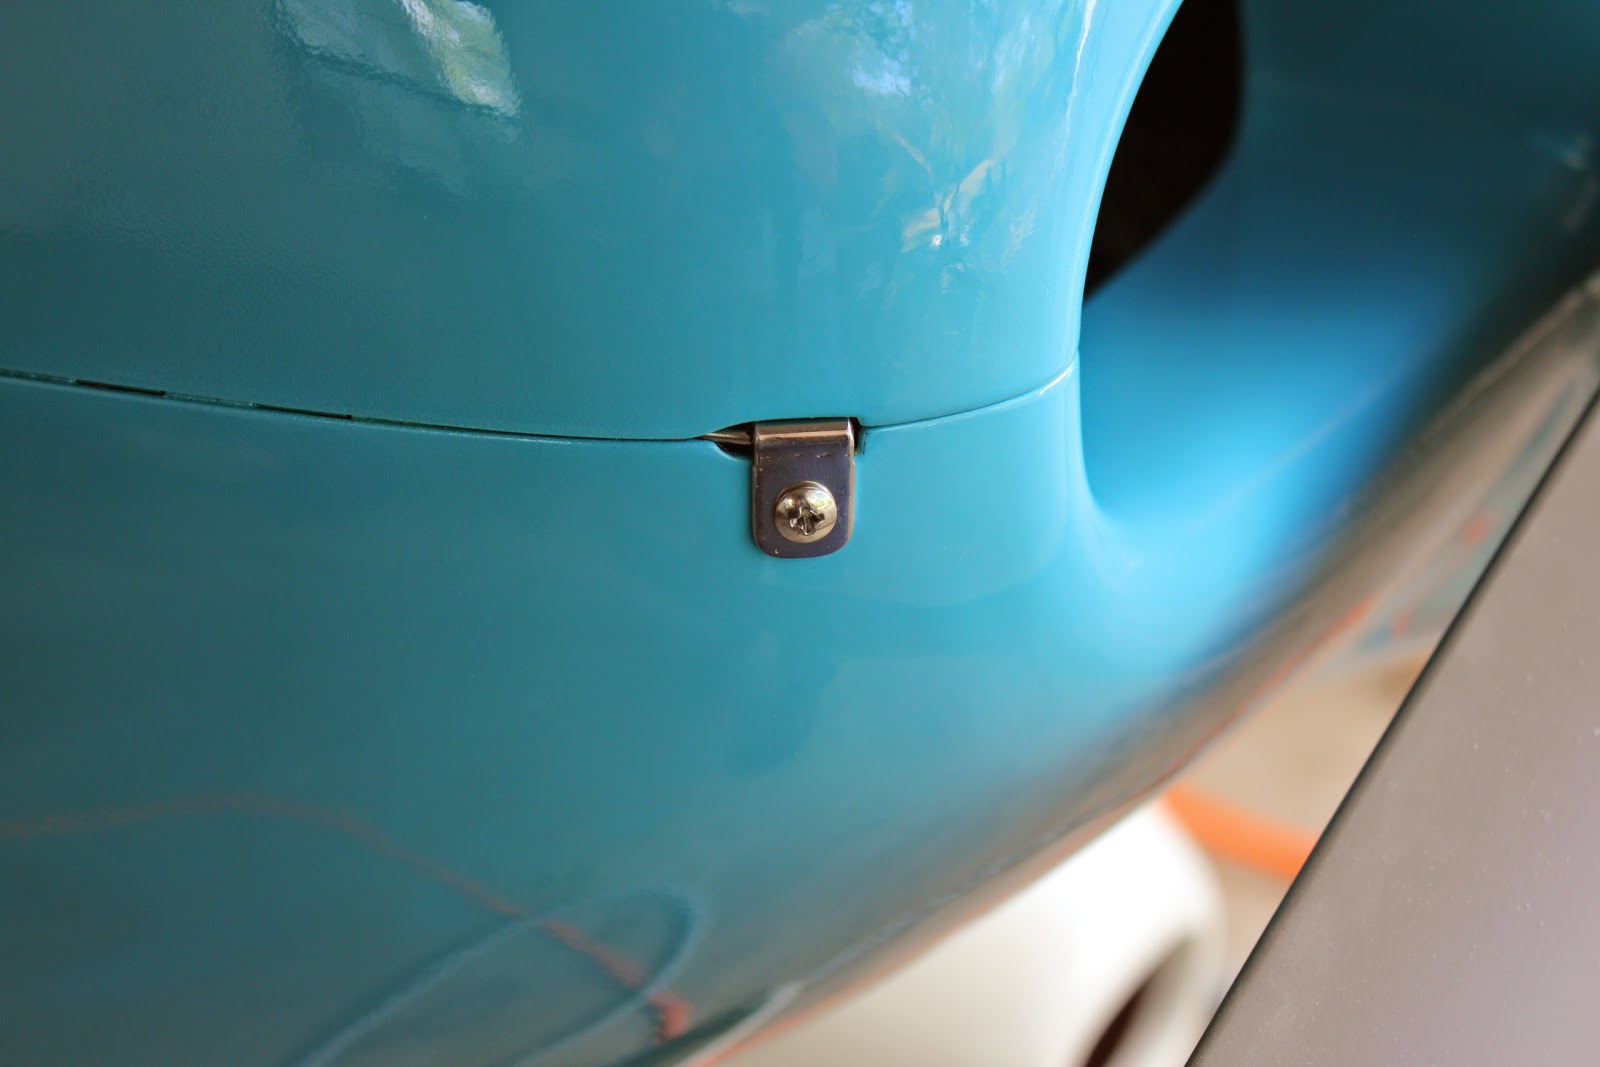
I finished sealing and priming the cowl this weekend and got most of it painted. Fiberglass work isn't terribly difficult. The most difficult part is knowing when to stop chasing perfect. The upper cowl is finished except for the oil access door. I painted the two pieces below early Monday morning before work.


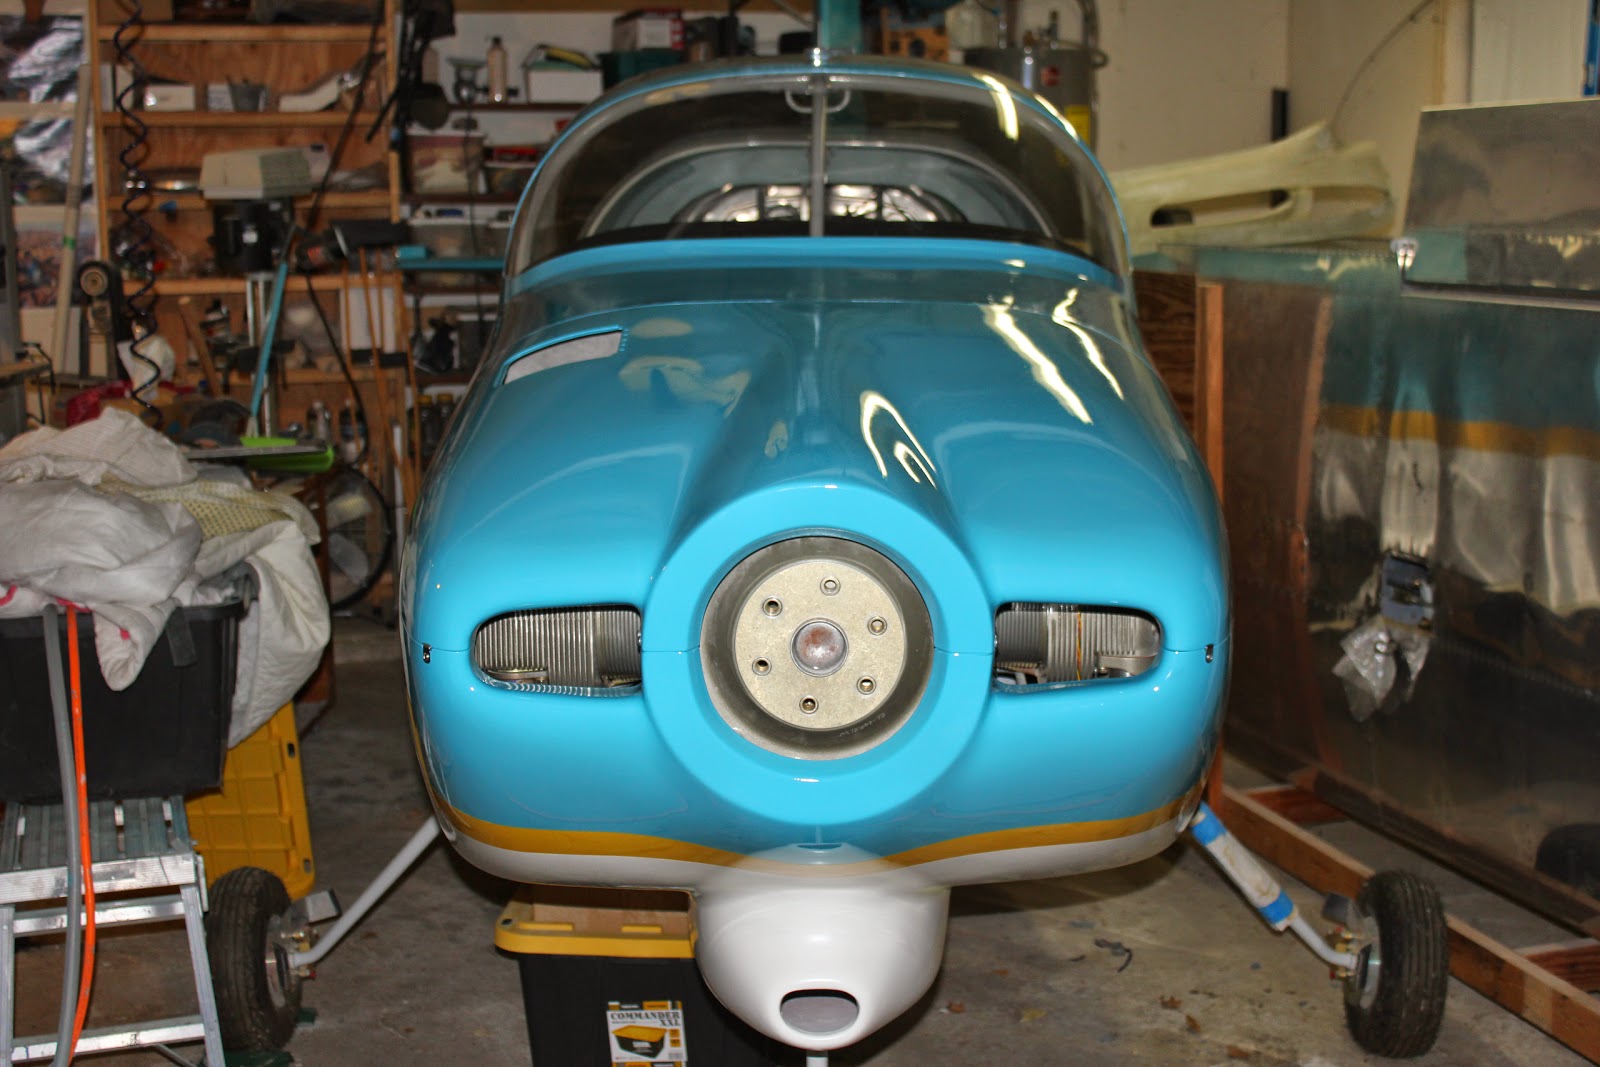
The lower cowl still needs the yellow stripe. It will go between the white and blue where the beige primer is now. Click on the picture below and see if you can find me taking the picture.


And here's the yellow stripe painted.

Friday, July 25, 2014

Sealing The Cowl

I'm sealing the cowl with West System epoxy resin that's thinned with Acetone. The fiberglass and especially the honeycomb parts are pocked with pinholes which will make the paint look terrible if left unfilled. I paint the resin on with a disposable paint brush and then squeegee it into the holes with a plastic spreader. After it dries I sand, vacuum, and repeat until the holes are filled. Oh, the price of beauty.

Monday, July 21, 2014

Cowl Work

There are a bunch of tasks to complete before the cowl can be painted. Here are two I worked on this weekend. I did quite a bit more on the cowl and I'm close to painting it but these are the only ones I photographed. The first is the hinge pin that holds the top and bottom of the cowl together. There's one on each side. There are many ways to secure the pin and the way I did it is an option that Van's sells with the pin welded to a stainless tab. I think it looks much better and is more secure than the default method of a bent wire held with a hinge eyelet. I polished it on my rouge wheel to make it pretty.


This is the oil access door. A little more sanding and I'll be done. Tonight I'll make a sandwich of fine sandpaper and a thin piece of UHMW sheet. I'll close the door on it and slide it around the perimeter to get a uniform gap.

Sunday, July 20, 2014

Skyview USB Ports

The Skyview EFIS has a USB port that's used to update the maps and charts and data with a little memory stick. I was using it so often that I installed a dedicated port for each side in the panel above each EFIS. This is the right one and the other side is identical.

Friday, July 11, 2014

Finishing Empennage Assembly

I'm finishing the final empennage assembly. Hopefully I won't have to take it apart again before I fly. It's not terribly hard but there are a bunch of tasks like running the trim and tail light wiring and getting every nut and bolt properly torqued and checking and adjusting the pitch of control surfaces that just takes time. I've probably removed and replaced the big parts 20 times. The bottom of the rudder doesn't have its fiberglass cap as I'll probably finish and paint the remaining fiberglass pieces as a group. I plan on putting the tail number (N4EW) on the tail where the temporary number is taped and possibly some stickers like the Phantom II guy that Austin gave me. I'm also looking for a Combat Infantryman Badge or Screaming Eagle (101st Airborne) sticker for my Dad.

Thursday, July 10, 2014

Paint Layout For Cowl

I've started prepping the cowl for paint. It will take quite a bit of sanding and filling but I wanted to see how the yellow stripe looks when carried forward from the fuselage. It's just temporary yellow tape for now. The painted stripe will be the same size as on the fuselage.

Repaired Elevator Horn

While final assembling the empennage, I realized I drilled the bottom holes on the elevator horns too large. I checked VAF and found it was a common mistake and that the solution was to weld up the holes and drill it again. I called Van's Aircraft to confirm and talked to Gus. He's one of the engineers that man the technical help line. He confirmed that it was a common mistake and to just weld them up and redrill and they would be good as new. I wrapped both of the painted elevators in bubble wrap and took them to Hofmann's Welding in San Marcos and had Jim weld up the holes. I redrilled and repainted and they are as good as new just like Gus said.

Monday, July 7, 2014

Tail Number

I've successfully registered the airplane. The tail number I picked is N4EW. If you know my last name, you'll get it. The "4" doesn't really mean anything. It was just the only one available with a single digit. Hopefully it's something I'll get to say over the radio many thousands of times. It has to be on the airplane like a license plate and it can go on the vertical tail like in the picture or on the side of the fuselage between the tail and wing. Being an Experimental, I'm allowed to use 3" numbers and letters. If I fly outside the U.S. I'll need 12" ones and those can be temporary stick-ons.

Flight Control Rigging

I'm rigging the empennage flight controls. This is my new digital level that allows me to check that I've got enough up and down travel. Here, I'm checking the elevator trim tab.