

Sunday, December 28, 2014
Snorkel Epoxied
I attached a fine grained styrofoam plug between the back of the snorkel inlet and the filtered air box and used a round file to cut a smooth channel between the two. Then I fiberglassed the inside of the channel and inflated a balloon inside to keep its shape. After it dries, I'll reinforce the inside of the snorkel and trim it to fit.
Saturday, December 27, 2014
Modified FAB
I decided to modify the filtered air box a little. To get the inlet of the FAB to match the cowl snorkel, I raised the front of the FAB about 1/2 inch. I cut a wedge from each side and then taped it where I wanted it to be. I heated and cooled it several times with the heat gun and then clamped it in place to prep for a fiberglass patch.

Monday, December 22, 2014
FAB
The FAB is the filtered air box. It holds the air filter, carburetor heat and alternate air door and looks like an upside down air cleaner on a car. I'm about half way through constructing it. After it's through, I'll install it on the carburetor and then fabricate a fiberglass extension from the FAB to the back of the lower cowl snorkel.

Monday, December 15, 2014
Intake Air Seal
Here are the intake air seals almost finished. I only need to trim the air seal fabric to fit.

Friday, December 12, 2014
Exhaust Hung
I'm finishing hanging the exhaust. Just the cross strap to attach which is already fitted and built. This is another task that would be easy the second time because understanding what needs doing is the difficult part. The hand drawn instructions were vague at best. I also had to move some electrical to fit the right hanger strap. Below is the easy left side with not much in the way. It's the black hose with two clamps and stainless tubes sticking out both ends.

The top of the hangers attach to sump tank bolts with a tab.

This is the right side showing how crowded it is.

The top of the hangers attach to sump tank bolts with a tab.
This is the right side showing how crowded it is.
Monday, December 8, 2014
Remaining Inventory
After searching for the little aluminum tube for the fuel pump overflow line, I decided to do an inventory of what's left to build. I'm making ZERO promises on when I'll be done but the pile was surprisingly small. The box in the picture has three cardboard boxes inside. Two boxes have parts that are completed and just need to be reinstalled. The small box in the upper right contains things left to build. There are some other things that aren't in the box that I'll need to complete before flying like brake lines and a few more. The empennage fairing and wingtips are fitted but need finishing. There's some interior trim and the seatbelts that need fitting. I also have to label the panel but the list is getting small. I'm not sure if I'll fit and install the wheel pants and gear leg fairings before flying as they're not recommended during engine break-in.

Fuel Pump Overflow Line
I installed the fuel pump overflow line this weekend. The hardest part was finding the little aluminum tube. Here's where it exits out the bottom of the fuselage.

This is where any overflow would exit the fuel pump.

This is where any overflow would exit the fuel pump.
Tuesday, December 2, 2014
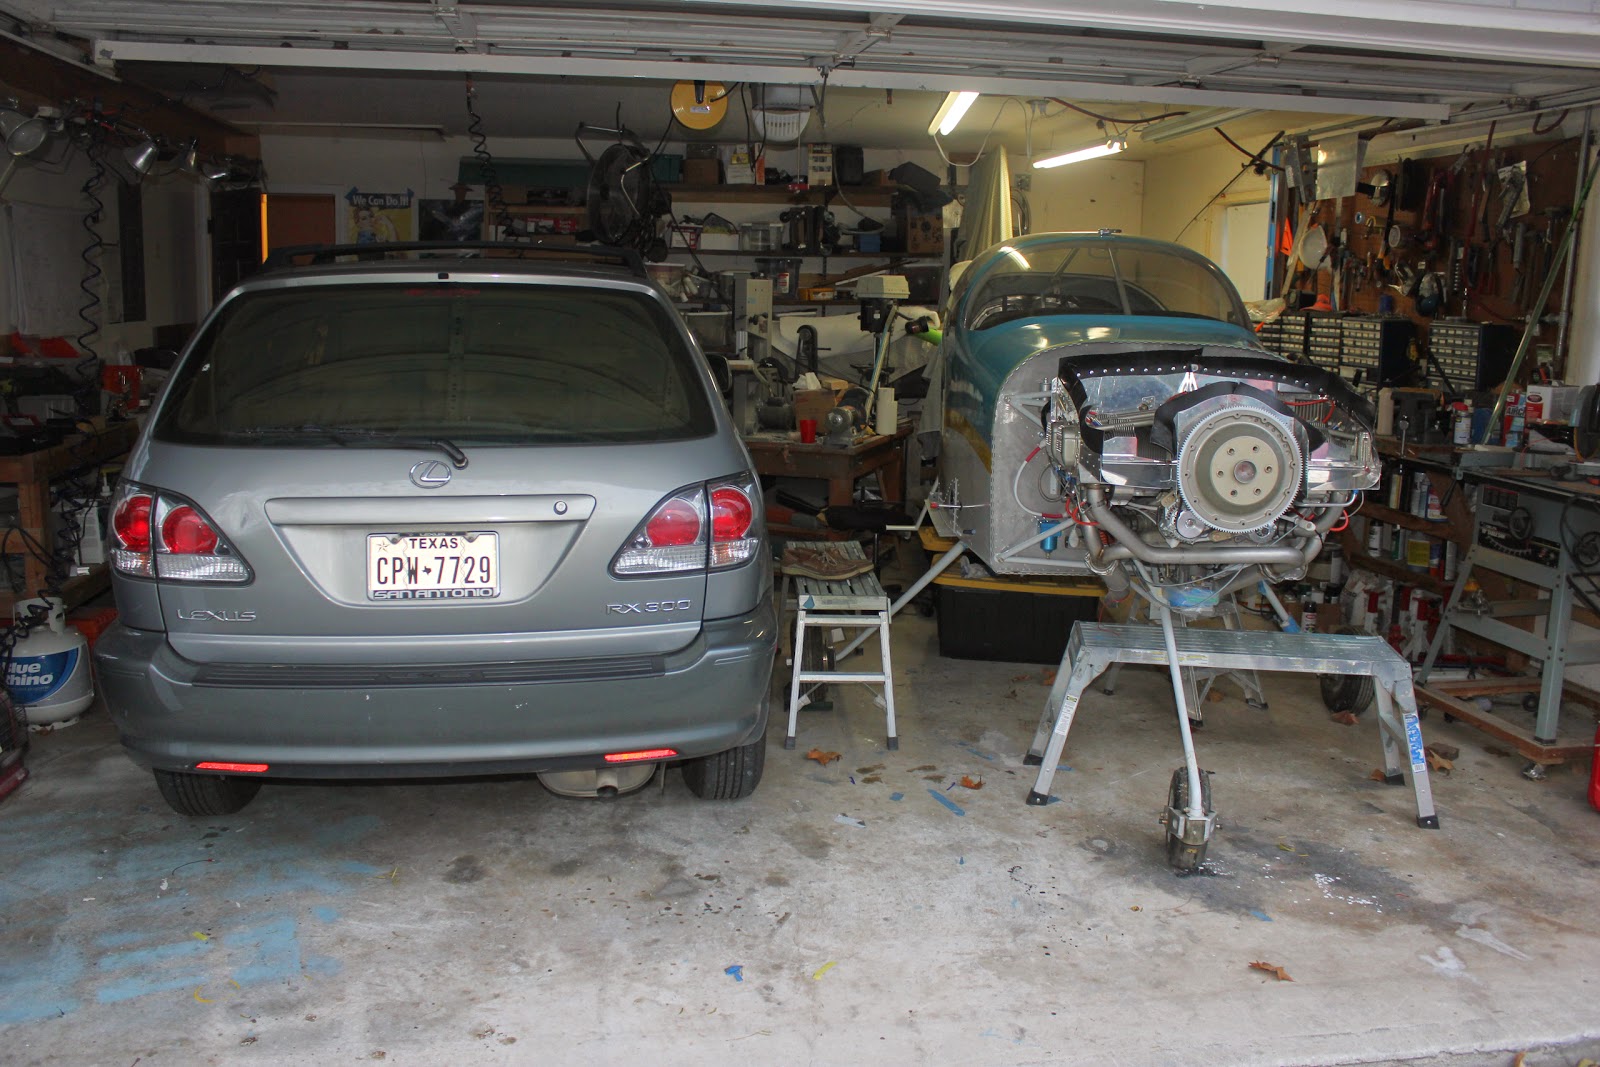
Homemade Tow Bar
Here's my homemade tow bar. I used it to move the airplane over to let Paula park in the garage. It's not pretty and made from an old crutch with bushings welded to scrap metal but works just fine.

Finished Engine Wiring
I wrapped up the engine wiring last night. I do have some very minor things left like sealing the firewall penetrations but I'd put the wiring part at 99% done. It was a more difficult job than I expected. Next time will be ten times faster as now I know the how and where part of the job. On the right side I used the black "snakeskin" wrap for chafe protection of wires.

On the left side I used white spiral wrap. I've seen both used on many aircraft and I'll see which one I like better after some use. I also spent a couple of hours inside under the panel finishing the connections from the engine and securing wires.

On the left side I used white spiral wrap. I've seen both used on many aircraft and I'll see which one I like better after some use. I also spent a couple of hours inside under the panel finishing the connections from the engine and securing wires.
Monday, December 1, 2014
Wings Moved To Hanger
Austin came home and helped me move the wings to the hanger in San Marcos. They look kind of lonely in the corner. Jack was nice enough to let me squeeze in with "Tweety Bird".

Paula's happy to have her car in the garage now that there's extra room.
Paula's happy to have her car in the garage now that there's extra room.
Thursday, November 20, 2014
Oil Temperature Sensor
I had to call Aero Sport Power (the engine builders) to get advice about the Oil Temp Sensor as it didn't want to screw into the oil filter adaptor. Their advice was to remove the adaptor and chase the threads with a tap. Here's the picture of me doing it. That was the problem and all fixed and re-installed after a through cleaning.

Monday, November 17, 2014
Manifold Pressure Sensor
I got the manifold pressure sensor installed this weekend along with a bunch of other firewall forward wiring. Here's the adaptor I used between the 1/8 line that comes through the firewall and the 1/4 line that goes into the sensor. It's from an oxygen line that my Dad used and fits perfectly on the sensor fitting. The connector between the two lines is from the aviation isle of an auto parts store in the vacuum line section.

Monday, November 10, 2014
Engine Sensor Wiring
I'm almost done installing the engine sensors. Routing and attaching the sensor wires to the engine monitor harnesses will come next.

Oil Filler
Here's the oil filler installed. It has a threaded base that makes it very secure. I've read that others don't have the threaded base and are difficult to keep from wobbling and leaking. Here it is all secured with safety wire.

Pitot Replaced
Back from vacation in Italy and time to get some work done on the airplane. Dynon had a problem with their heated pitots and replaced all of them at no cost. Good company and glad I chose them for my avionics. I installed the new one on Saturday. A part of the requirement to get the free replacement was to destroy the old one and send a photo to Dynon. Here's the old one with the top cut off.


New one installed in less than 3 hours. The first time, it took about 3 days!
Tuesday, October 21, 2014
CHT And Sensor Wiring
I'm waiting for an order of Pliobond glue to finish the last tiny part of the baffles so I've moved on to wiring the engine compartment. This picture shows the plug wires and the probes for the Cylinder Head Temperature (CHT).

Here are two of the pressure sensors for measuring oil and fuel pressure. New engine monitor systems check and measure just about everything under the hood. You can see the big bundle of wires that will go all over the engine compartment. It looks confusing at first but every wire is easy to identify and easy to find where it goes. The hardest part is finding the best path for the wires and making them secure.

Here are two of the pressure sensors for measuring oil and fuel pressure. New engine monitor systems check and measure just about everything under the hood. You can see the big bundle of wires that will go all over the engine compartment. It looks confusing at first but every wire is easy to identify and easy to find where it goes. The hardest part is finding the best path for the wires and making them secure.
Monday, October 20, 2014
Ignition Harness
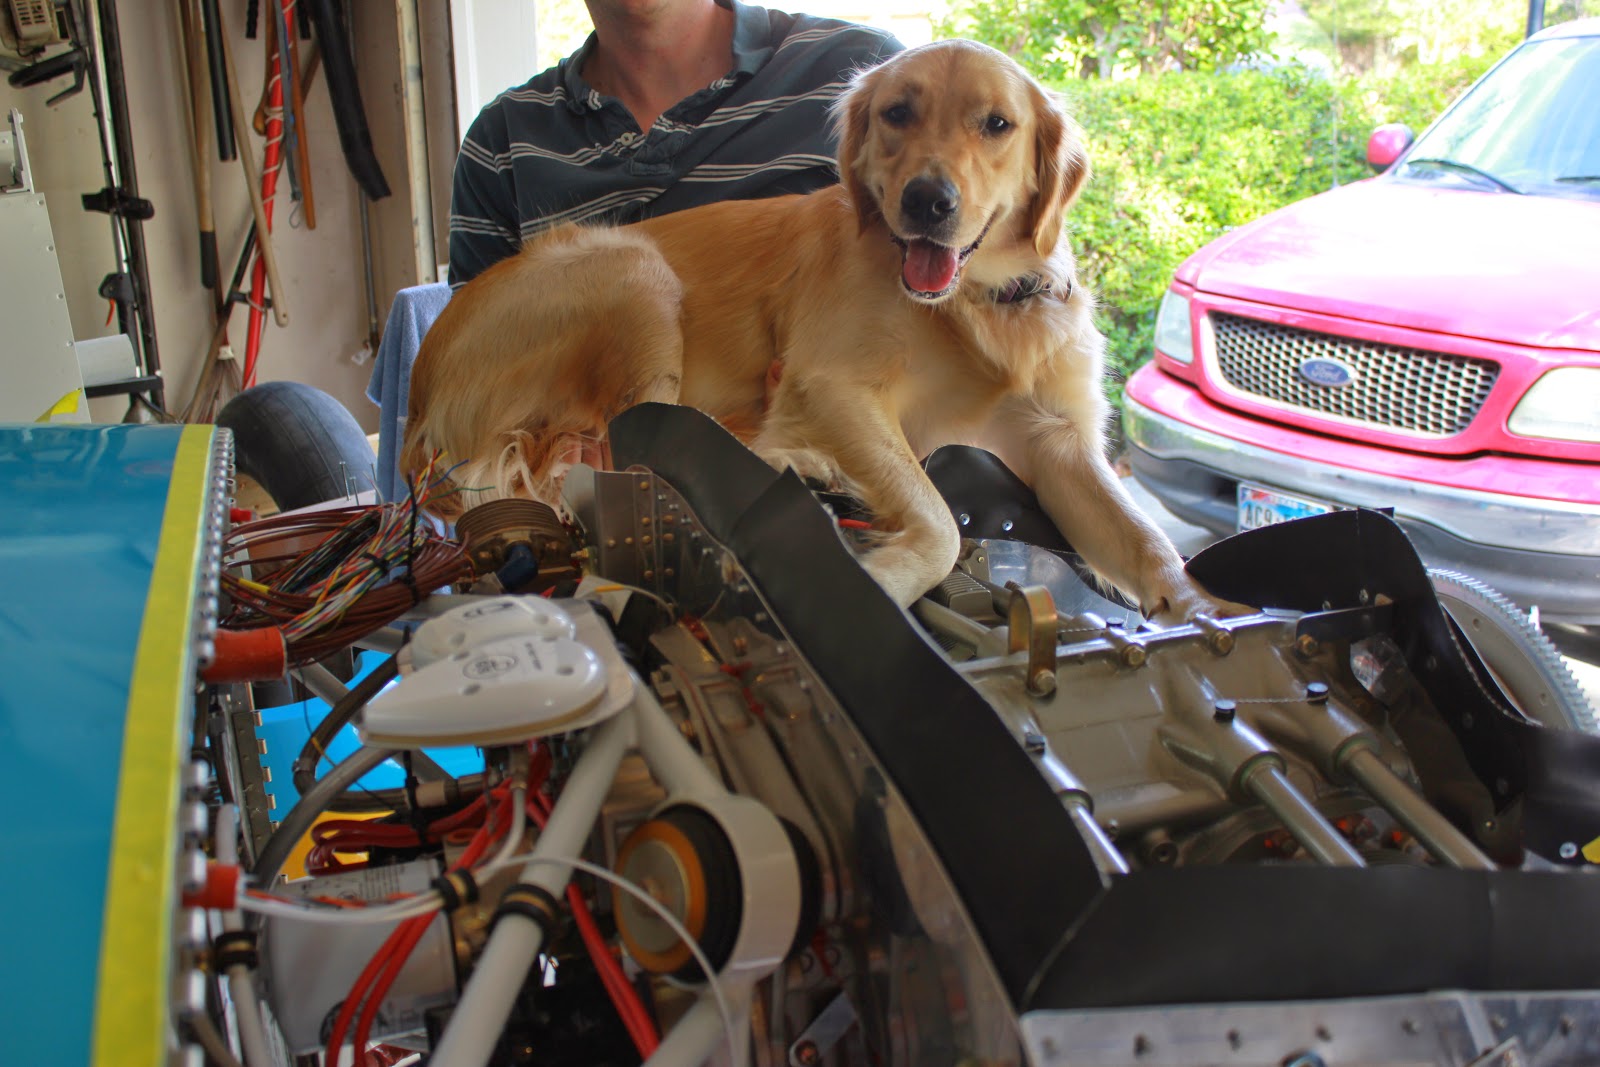
Austin was home for the weekend and installed the ignition harness while I finished the baffles.

He tried to convince me that Nova could help but I wasn't buying it. She does look happy for the attention, though.
Here's our routing behind the baffles.

And the routing inside the baffles going to the spark plugs.

He tried to convince me that Nova could help but I wasn't buying it. She does look happy for the attention, though.
Here's our routing behind the baffles.
And the routing inside the baffles going to the spark plugs.
Friday, October 17, 2014
Baffle Air Seal
Here's the air seal fabric on the baffles. I've taped it down to get the right bend so it seals well to the underside of the top cowl. Only a little more to go and I'll be through with the baffles.

Wednesday, October 8, 2014
Finishing Baffles
The finish line for the baffles is in sight. Only the rubber gasket around the top to finish. Here's the oil cooler mounted.

And the filler for the aft cylinder spark plug access holes. These were not detailed well on the plans so I'll show how I did them.


And the filler for the aft cylinder spark plug access holes. These were not detailed well on the plans so I'll show how I did them.

Here is one of the stainless pins that go under the baffles to connect them together. It was challenging to cut the 6-32 threads.
Wednesday, September 24, 2014
Paperclip Baffle Trimming
Here's how I measured the baffles so I could trim them to the proper height. Paperclips. Set them around the perimeter and put the top cowl in place and then measure from the top of the paperclip to get your clearance distance. Fast, accurate and easy. What could be better?

Monday, September 22, 2014
More Baffle Work
Work continues on the baffles. I didn't think they would take this long. They're not difficult. It's just time consuming to trim and then test fit and then disassemble everything to trim a little more and then do it again over and over. And it's important to get it right to insure the engine cools properly. In the picture below, it doesn't look like much work has been done but every piece has been hand fitted. There are so many different engine combinations and variations that it would be impossible to have baffles that fit every situation so they're made extra large to be cut to size. The baffles are the shiny aluminum panels that make a box around the engine to direct cooling air over the fins. When I'm finished, the panels will have a flexible rubber gasket around the top that seals against the underside of the top cowling.

Tuesday, September 2, 2014
Working On Baffles
I"ve started work on the engine baffles. They wrap around the engine to direct cooling air.

Tuesday, August 26, 2014
Throttle Quadrant
Last night I started on the throttle quadrant that has the throttle, mixture, carburetor heat and alternate air knobs. It's attached to the bottom middle of the panel.


And here it is installed a few days later. I'm waiting for two firewall penetration grommets to finish but everything else in the cockpit for the control quadrant is finished.
Monday, August 25, 2014
Wings Painted
I painted both wings this weekend. I was glad to have two compressors as they were both working hard to supply enough air to the paint gun. There is a lot of surface area on a wing. Both turned out well. I only had a few spots on the underside of one of the wings where I drug my supplied air hose. I was being careful with both air lines but forgot about the rubber hose that comes out of the air mask.

The left wing is temporarily suspended above the rack so it won't mar the paint before it's fully dry. The biggest parts left to paint are the wingtips. Then it will be trim pieces and the landing gear and wheel fairings to finish.

The left wing is temporarily suspended above the rack so it won't mar the paint before it's fully dry. The biggest parts left to paint are the wingtips. Then it will be trim pieces and the landing gear and wheel fairings to finish.
Monday, August 18, 2014
Wing Rotisserie
I'm prepping the wings for paint and here's how I'll rotate them. A 4" diameter plastic drain pipe fits perfectly into the lightening hole just aft of the main spar and is run almost to the aileron bellcrank. A 2x4 fits into the pipe and is screwed to the sawhorse. A short length of plastic pipe in one of the small lightning holes holds the wing horizontal and can be slid in when you want to rotate the wing.
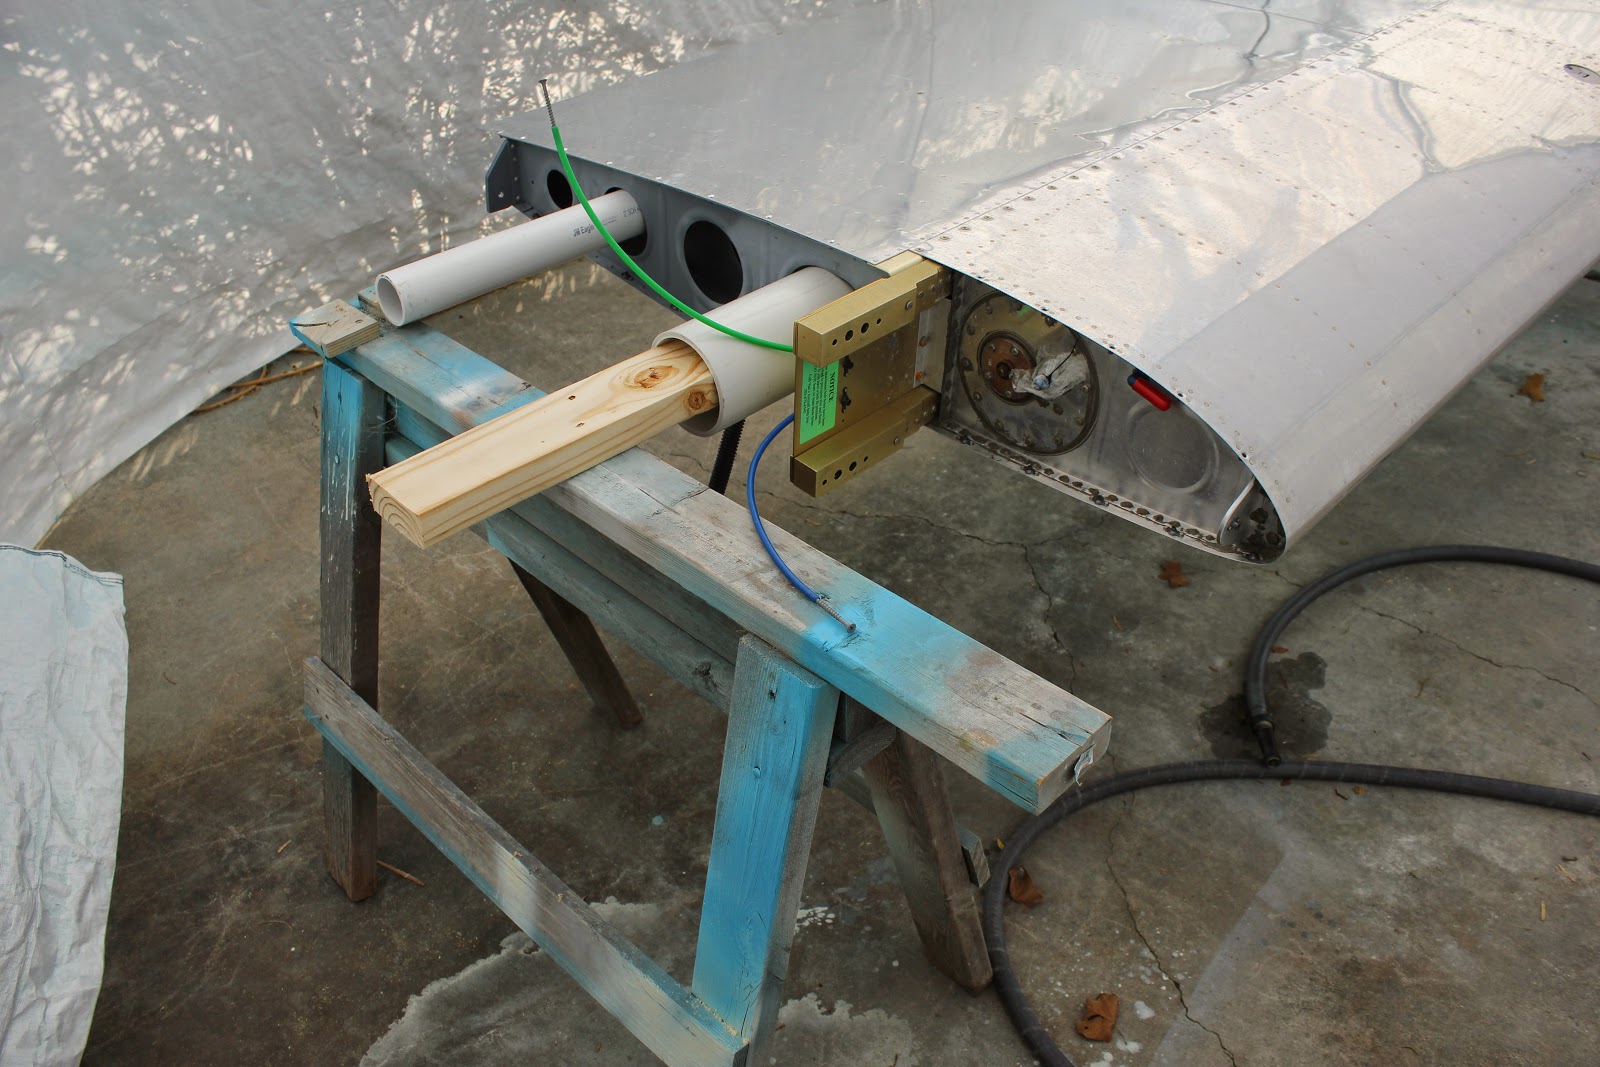

I did the same thing on the other end and the balance point is perfect with the trailing edge of the wing being just a little heavy.
Thursday, August 14, 2014
Left Aileron Painted
I got up early today and painted the left aileron before work while it was still cool. Forecast highs for the next 4 or 5 days are 100 plus. This is a good shot of the rotisserie I've been using. I'll get the right aileron painted this weekend and start prep for painting the wings.

Sunday, August 10, 2014
Spinning Spinner Painted
I was worried that I wouldn't be able to paint the spinner evenly or that I would get runs and dry spots because of the complex shape. I asked several friends for advice and ended up using Daniel's idea. I used scrap wood left over from the canopy frame bending jig to make a box to hold the drill. Then I sanded the top of a screwdriver handle flat and attached the front spinner plate to it with a lag screw. Next, I put double sided tape on the spinner plate to hold it inside the spinner then chucked the screwdriver in the drill. A piece of aluminum angle is screwed across the drill trigger and tightened slowly to adjust the speed. After getting the speed right, it was pretty simple to just hold the paint gun still and spray for one revolution and then move down for each successive pass. If you zoom into the photo, the stripes you see in the middle of the spinner are the reflection of the roof of the paint booth and not runs in the paint.

Here's the contraption in action on Youtube.

Here's the contraption in action on Youtube.
Here's the spinner installed.
Monday, August 4, 2014
Spinner
I got the spinner cut, aligned and drilled and started on the two filler pieces behind the prop. The Sensenich template I found on-line wasn't close so I used some card stock and started trimming until it fit. To get the gap consistent, I taped some slick UHMW sheet to the back of sandpaper and slid it up and down around the prop.

I still need to find a way to rotate the spinner while I'm painting it.


I still need to find a way to rotate the spinner while I'm painting it.
Almost finished with one of the filler pieces. I'll work on the gap and then duplicate it for the other side before dis-assembly and painting.
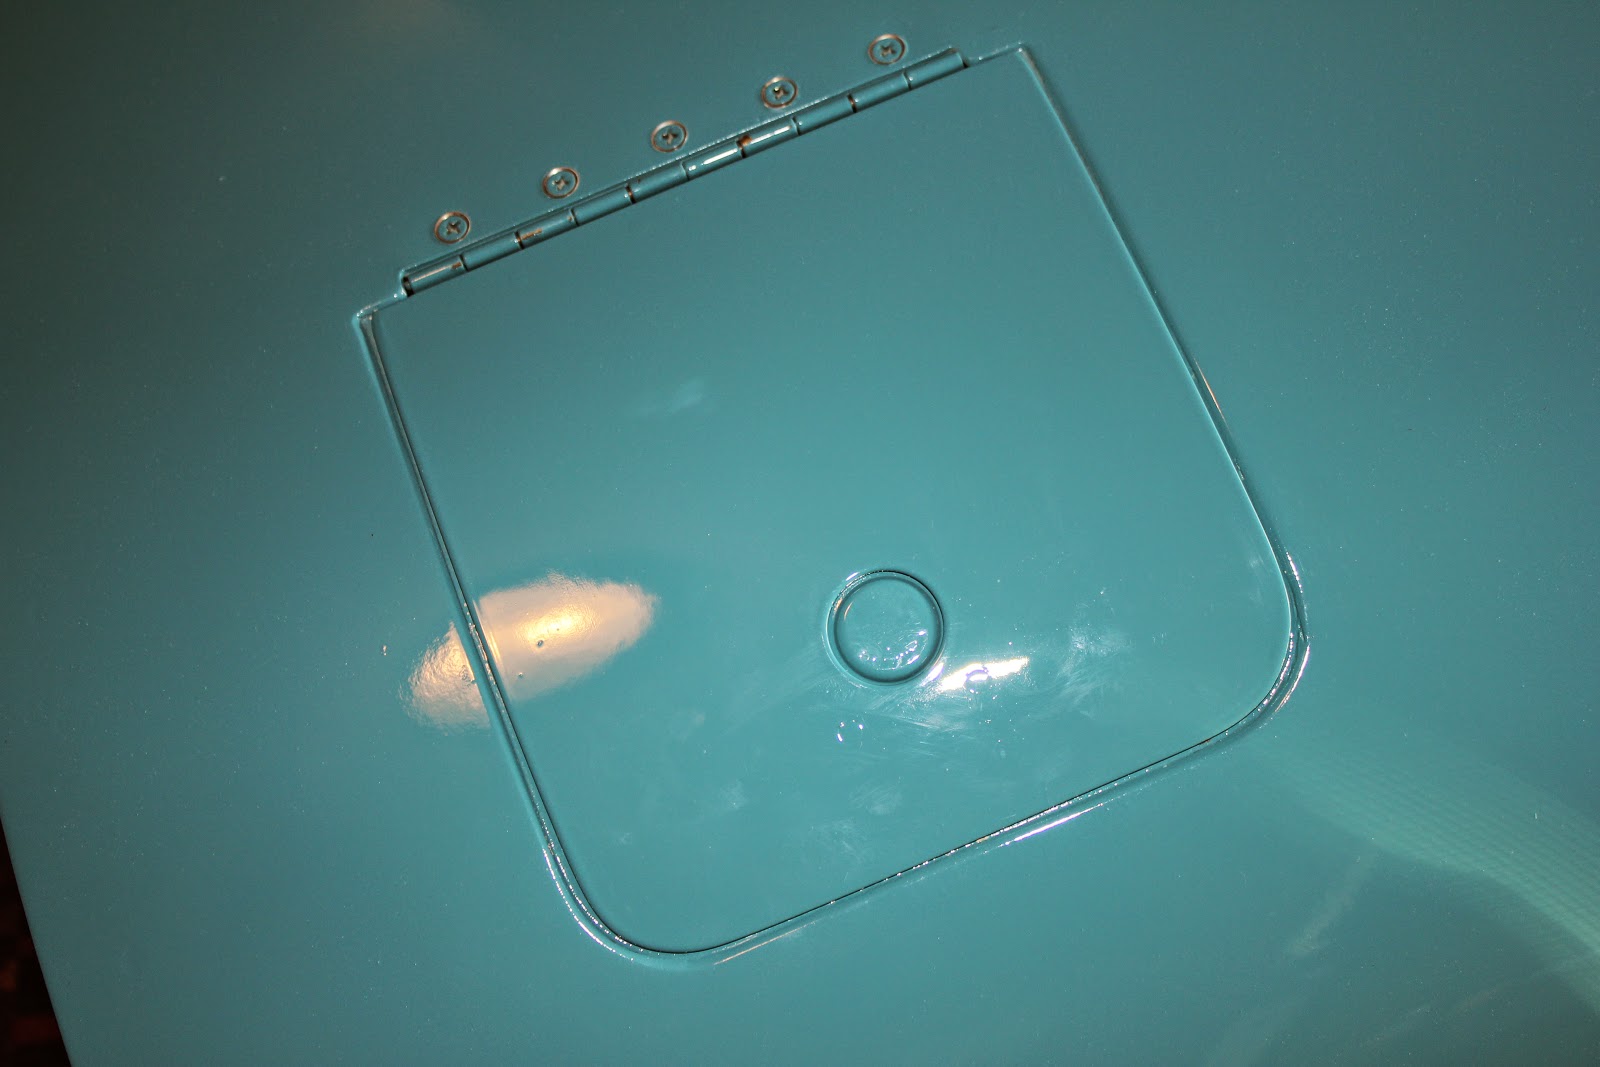
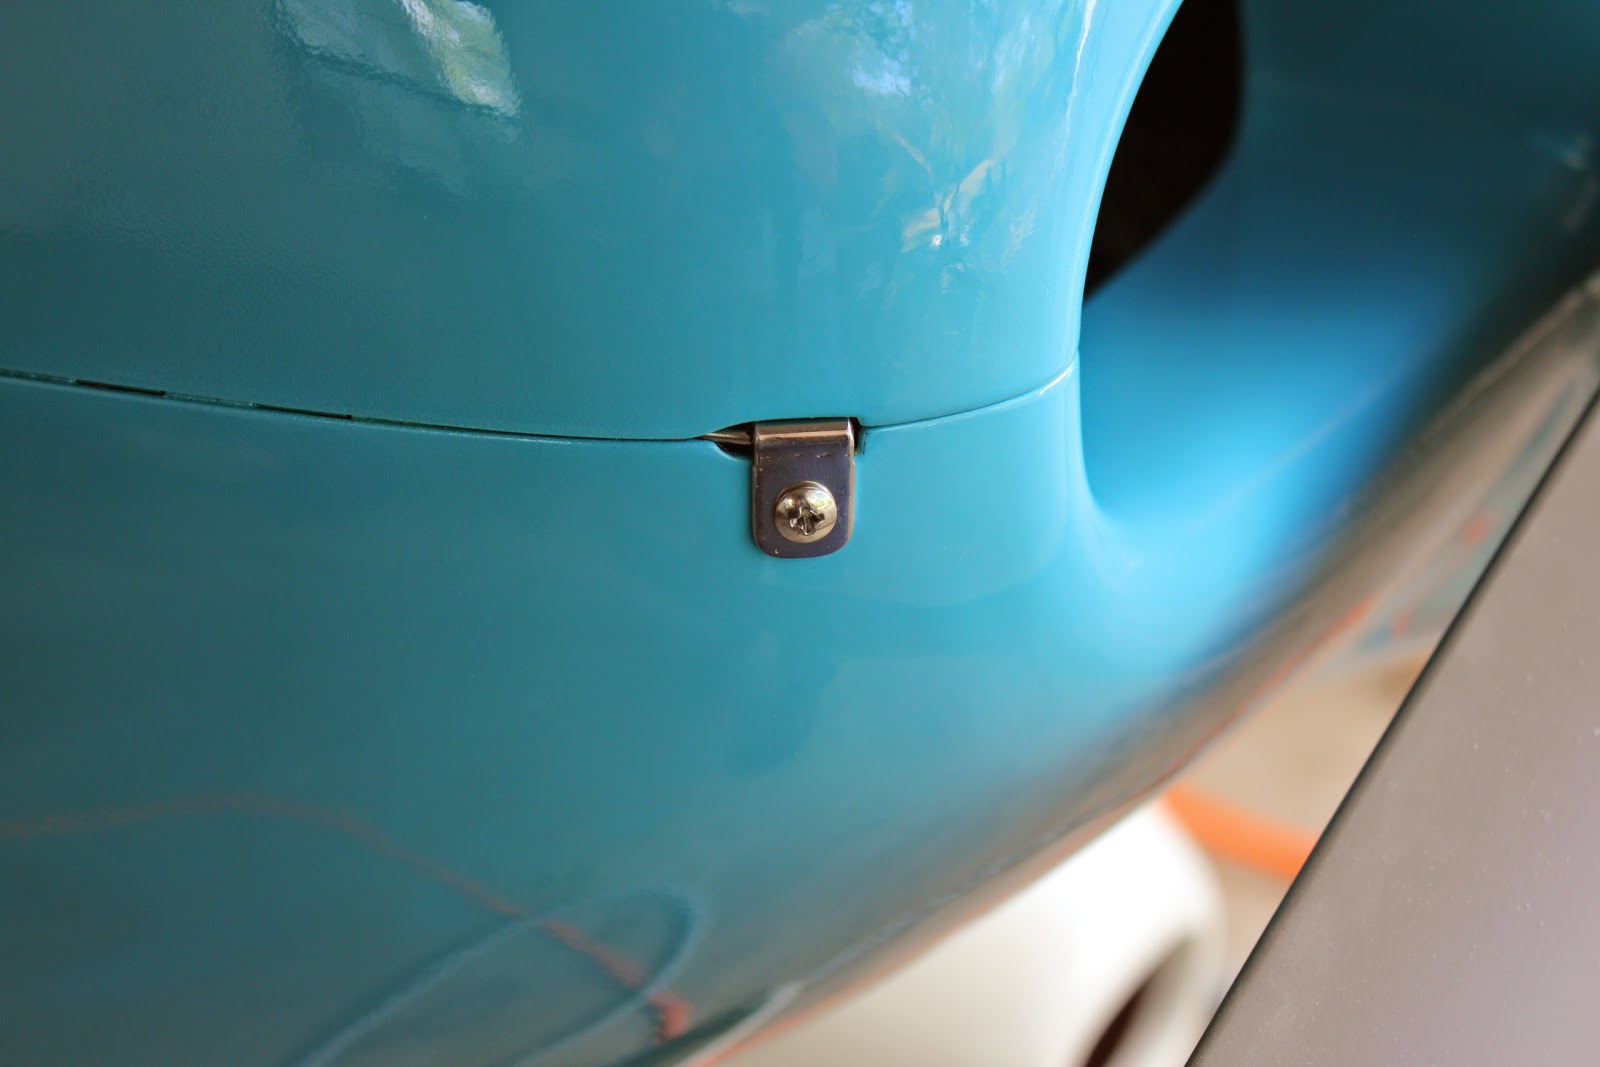
Oil Door Painted
I finished the oil door on Saturday. I ended up having to modify some tinnerman washers (reduced the diameter) and re-countersink the holes for the screws as the paint was chipping.
Thursday, July 31, 2014
Cowl Hinge Pin
Here's the hinge pin that joins the upper and lower cowl. Not perfect but...
Hopefully better than this sad looking RV.

Hopefully better than this sad looking RV.
Subscribe to:
Posts (Atom)

