

Friday, July 29, 2011
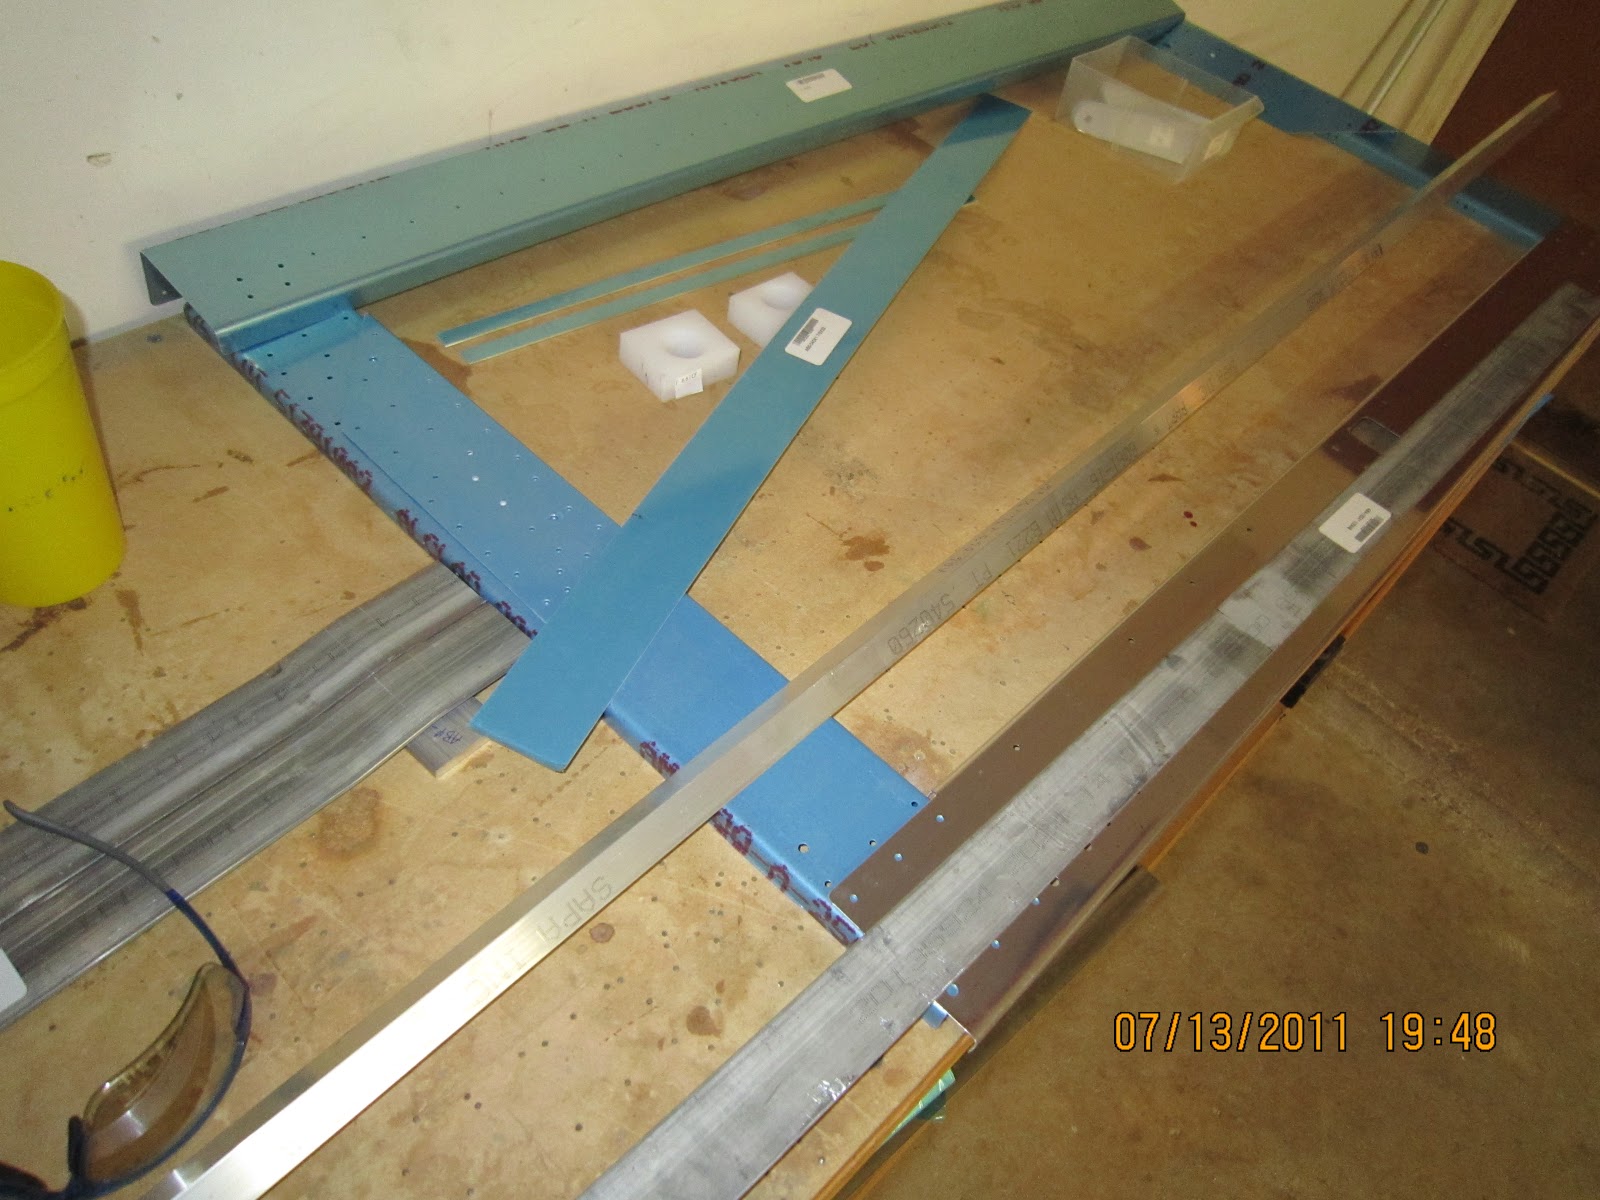
Elevator Bellcrank Ribs
I'm working on the forward most bulkhead in the aft fuselage that supports the elevator bellcrank ribs. It's going well but I had to ask Paula, "why is it that the parts that won't be seen, like the elevator bellcrank ribs that I'm working on, come out perfect and the ones that are exposed are perfectly fine structurally but get the small blemishes?" These ribs will be behind the cargo compartment wall and will only be seen during building and the one a year maintenance checks.

Monday, July 25, 2011
Finished the F-705 Bulkhead
Here, I've finished the big 705 bulkhead. It's the one with the lower seatbelt attachments and the upper seatback rest. It's also where the rear spar of the wing will attach.

Coming up next are the smaller bulkheads that support the aft fuselage. They're progressively smaller hoops that define the shape of the aft fuselage toward the tail.

Here's a handy little tip. When squeezing rivets on a flange, use a backing plate to avoid gouges. The picture below is the scrap sacrificial plate that I used on the 705 bulkhead. Thickness of .032 works about right - not so thick that the squeezer doesn't cover the rivet tail but thick enough to keep it from gouging the web.

Thursday, July 14, 2011
Started on Bulkhead F-705
Here's the big bulkhead that goes behind the seats and has the anchors for the seatbelts. It's also where the rear spar of the wing will attach.
![]()

Tuesday, July 12, 2011
Finished the Main Spar Bulkhead
I finished the Main Spar Bulkhead last night. Now it's on to the large bulkhead that goes behind the seats. The control sticks are bolted to this bulkhead but the instructions said to fit and adjust then remove for installation later leaving the brackets attached. I suspect it's an access issue when the seats are installed. You can see the slot where the main wing spar slides into the side of the fuselage in the lower left of the picture. The blue covered skin isn't riveted yet because it gets attached when the main fuselage skins are riveted.
![]()
![]()
![]()

I was particularly proud of the rivets on the bulkhead. Below are some of the rivets I did with a factory rivet in the upper right corner for comparison. I used my Cleaveland c-frame with the female cupped die in the bottom and backriveted from the top. For some reason, the gold anodizing didn't show up in the picture below but you can see it above.

I torqued the bolts that weren't going to be removed and added torque seal. The nut is new and in good shape. I think the flash did funny things to the picture. Torque seal is like thick fingernail polish and its job is to indicate that a bolt has been properly torqued and hasn't moved since.

Monday, July 4, 2011
Started First Bulkhead
I've started the main bulkhead that the big wing spar mates to. Love that gold anodizing. Wouldn't it be great to have the entire airplane gold anodized kind of like C-3PO?


Friday, July 1, 2011
Finished the Firewall
I finished the stainless steel firewall last night. No problems but I did have to call the mother ship (Vans) to ask about the rivet orientation on the fuel pump doubler. All the other rivets have the smooth side forward to make for an easy to clean firewall except for the fuel pump doubler. Spoke to Ken Kreuger and he set me straight. I back riveted almost all of the rivets using my 3/4 inch thick plate which was the perfect size to offset the forward flange of the firewall and allowed the skin to sit flat. Now, on to the bulkheads.


Subscribe to:
Posts (Atom)

